How to use Hatch environments from Visual Studio Code¶Visual Studio CodeからHatch環境を使用する方法
Visual Studio Code announced support for Hatch environment discovery in vscode-python's 2024.4 release.Visual Studio Codeは、Hatch環境の発見をvscode-pythonの2024.4リリースでサポートすることを発表しました。
For it to work, you should install Hatch globally. If you used the GUI installers on Windows or macOS, or your system package manager on e.g. Arch Linux or Fedora, this should be taken care of.これが機能するためには、Hatchをグローバルにインストールする必要があります。WindowsやmacOSのGUIインストーラー、またはArch LinuxやFedoraなどのシステムパッケージマネージャーを使用した場合、これが自動的に行われるはずです。
Setting up PATH
If you installed Hatch with pipx rather than system-wide, you might need to add $HOME/.local/bin to your PATH environment variable for your graphical session, not just your terminal. Check like this:
$ pgrep bin/code  # or some other graphical application
1234
$ cat /proc/1234/environ | tr '\0' '\n' | grep -E '^PATH='
PATH=/usr/local/sbin:/usr/local/bin:/usr/sbin:/usr/bin:/sbin:/bin
If the directory is not in there, you need to add it in your session startup script, in a way that depends on your desktop environment:
Project setup¶プロジェクトのセットアップ
-
Make Hatch install the project and its dependencies to an environment using the
env createcommand.Hatchを使用してプロジェクトとその依存関係を環境にインストールするには、env createコマンドを使用します。 -
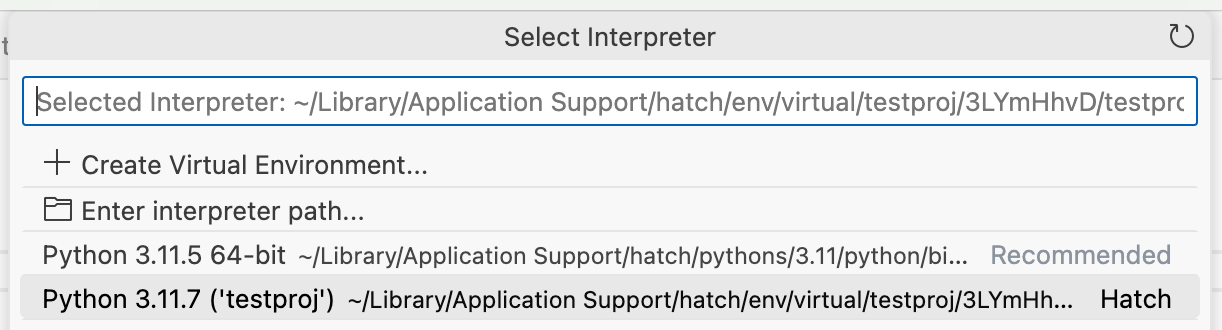
Select an interpreter using the Python: Select Interpreter command:Python: Select Interpreterコマンドを使用してインタープリターを選択してください:
-
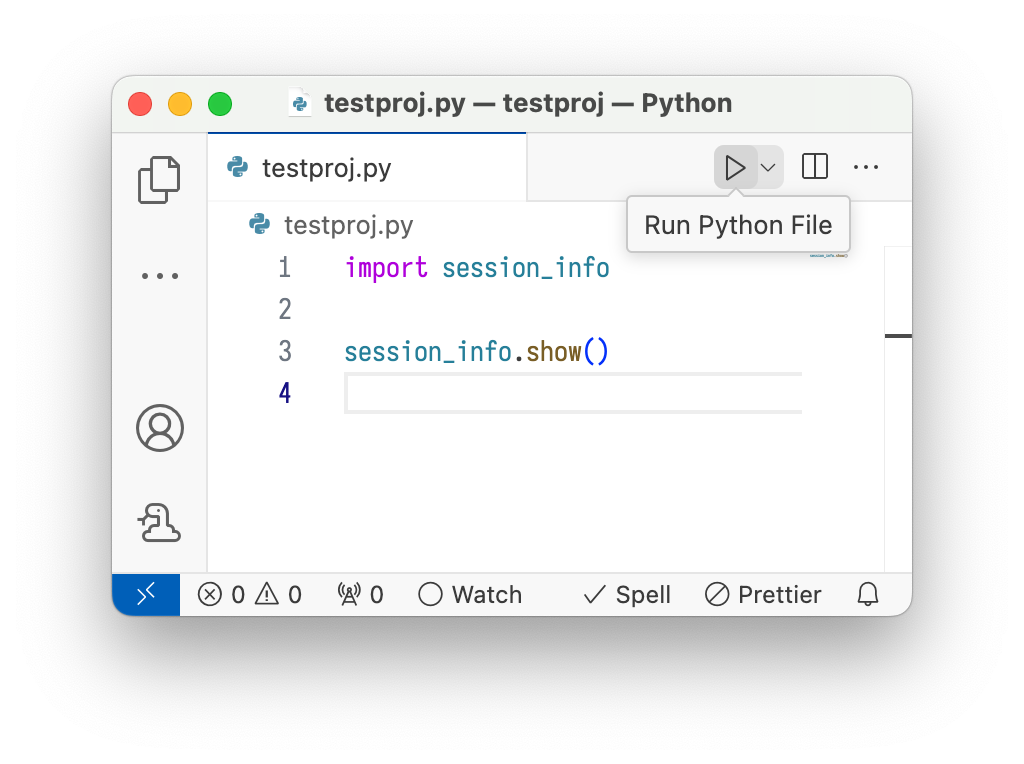
You should now be able to use the environment. For example, if you have the
python.terminal.activateEnvironmentsetting set totrueand you open a new terminal, the environment should be activated. Alternatively, you could press the "play" button to run a file in the environment:これで環境を使用できるようになるはずです。例えば、python.terminal.activateEnvironment設定がtrueに設定されていて、新しいターミナルを開くと、環境がアクティブになるはずです。あるいは、ファイルを環境で実行するために「再生」ボタンを押すこともできます: