What is a registry?レジストリとは何ですか?
Explanation説明
Now that you know what a container image is and how it works, you might wonder - where do you store these images?コンテナイメージが何であり、どのように機能するかを理解したので、これらのイメージをどこに保存するか疑問に思うかもしれません。
Well, you can store your container images on your computer system, but what if you want to share them with your friends or use them on another machine? That's where the image registry comes in.コンテナイメージをコンピュータシステムに保存することもできますが、友達と共有したり、別のマシンで使用したい場合はどうしますか?そこでイメージレジストリが登場します。
An image registry is a centralized location for storing and sharing your container images. It can be either public or private. Docker Hub is a public registry that anyone can use and is the default registry.イメージレジストリは、コンテナイメージを保存および共有するための中央集権的な場所です。これは、公開または非公開のいずれかです。Docker Hubは、誰でも使用できる公開レジストリであり、デフォルトのレジストリです。
While Docker Hub is a popular option, there are many other available container registries available today, including Amazon Elastic Container Registry (ECR), Azure Container Registry (ACR), and Google Container Registry (GCR). You can even run your private registry on your local system or inside your organization. For example, Harbor, JFrog Artifactory, GitLab Container registry etc.Docker Hubは人気のあるオプションですが、今日では多くの他のコンテナレジストリが利用可能です。これには、Amazon Elastic Container Registry (ECR)、Azure Container Registry (ACR)、およびGoogle Container Registry (GCR)が含まれます。さらに、ローカルシステムや組織内でプライベートレジストリを実行することもできます。例えば、Harbor、JFrog Artifactory、GitLab Container registryなどです。
Registry vs. repositoryレジストリとリポジトリ
While you're working with registries, you might hear the terms registry and repository as if they're interchangeable. Even though they're related, they're not quite the same thing.レジストリを扱っているとき、レジストリとリポジトリという用語が互換的に使われることがあります。関連はしていますが、完全に同じものではありません。
A registry is a centralized location that stores and manages container images, whereas a repository is a collection of related container images within a registry. Think of it as a folder where you organize your images based on projects. Each repository contains one or more container images.レジストリはコンテナイメージを保存および管理する中央集権的な場所であり、リポジトリはレジストリ内の関連するコンテナイメージのコレクションです。プロジェクトに基づいてイメージを整理するフォルダーのように考えてください。各リポジトリには1つ以上のコンテナイメージが含まれています。
The following diagram shows the relationship between a registry, repositories, and images.以下の図は、レジストリ、リポジトリ、およびイメージの関係を示しています。
NoteYou can create one private repository and unlimited public repositories using the free version of Docker Hub. For more information, visit the Docker Hub subscription page.Docker Hubの無料版を使用して、1つのプライベートリポジトリと無制限のパブリックリポジトリを作成できます。詳細については、Docker Hubのサブスクリプションページをご覧ください。
Try it out試してみる
In this hands-on, you will learn how to build and push a Docker image to the Docker Hub repository.このハンズオンでは、DockerイメージをDocker Hubリポジトリにビルドしてプッシュする方法を学びます。
Sign up for a free Docker account無料のDockerアカウントにサインアップする
If you haven't created one yet, head over to the Docker Hub page to sign up for a new Docker account.まだ作成していない場合は、Docker Hubのページに移動して、新しいDockerアカウントにサインアップしてください。
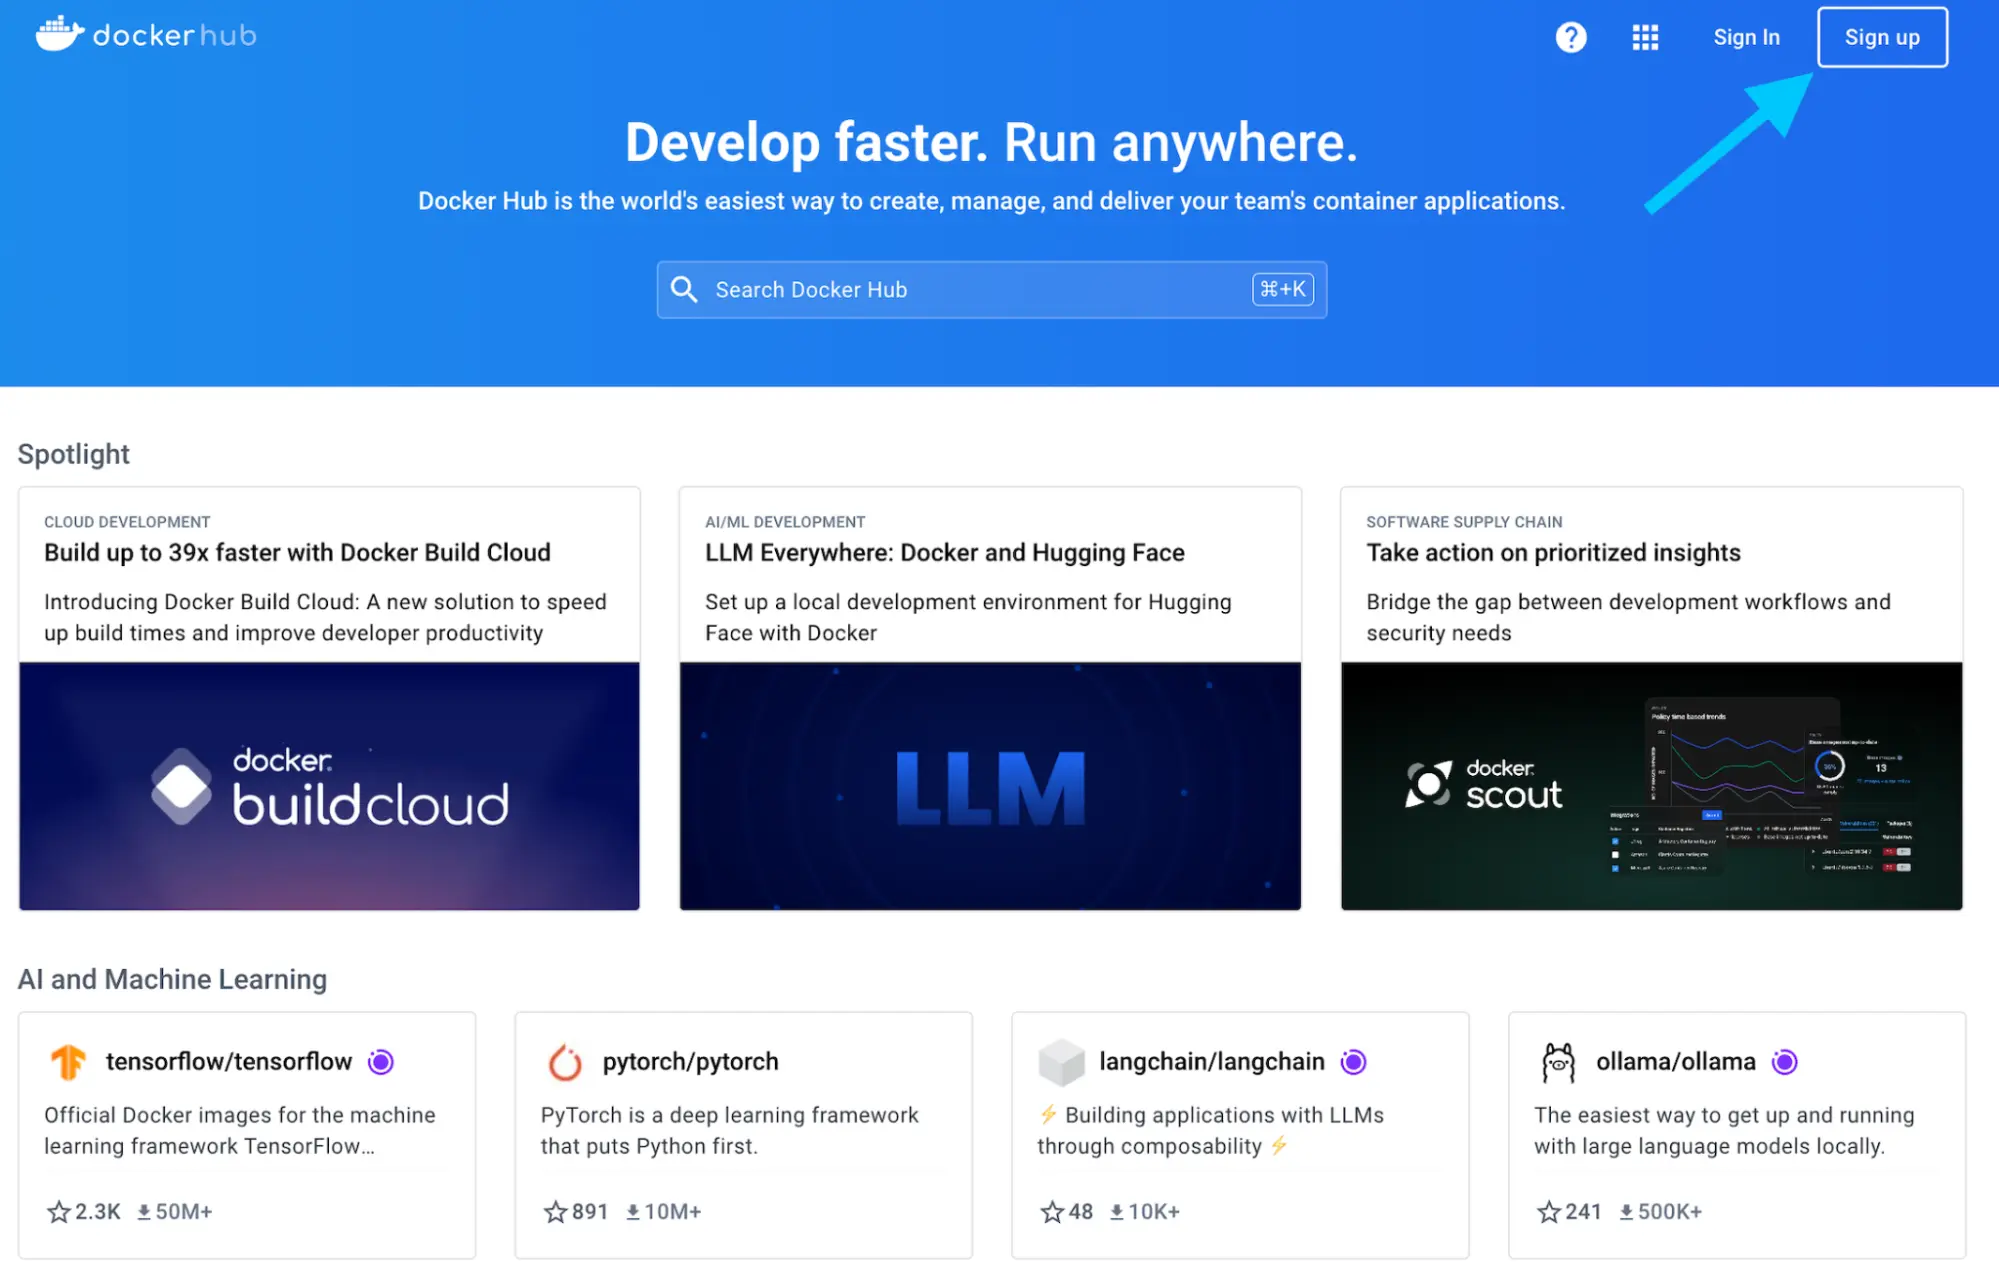
You can use your Google or GitHub account to authenticate.GoogleまたはGitHubアカウントを使用して認証できます。
Create your first repository最初のリポジトリを作成する
Sign in to Docker Hub.Docker Hubにサインインします。
Select the Create repository button in the top-right corner.右上隅のリポジトリを作成ボタンを選択します。
Select your namespace (most likely your username) and enter
docker-quickstartas the repository name.あなたの名前空間(おそらくあなたのユーザー名)を選択し、リポジトリ名としてdocker-quickstartを入力します。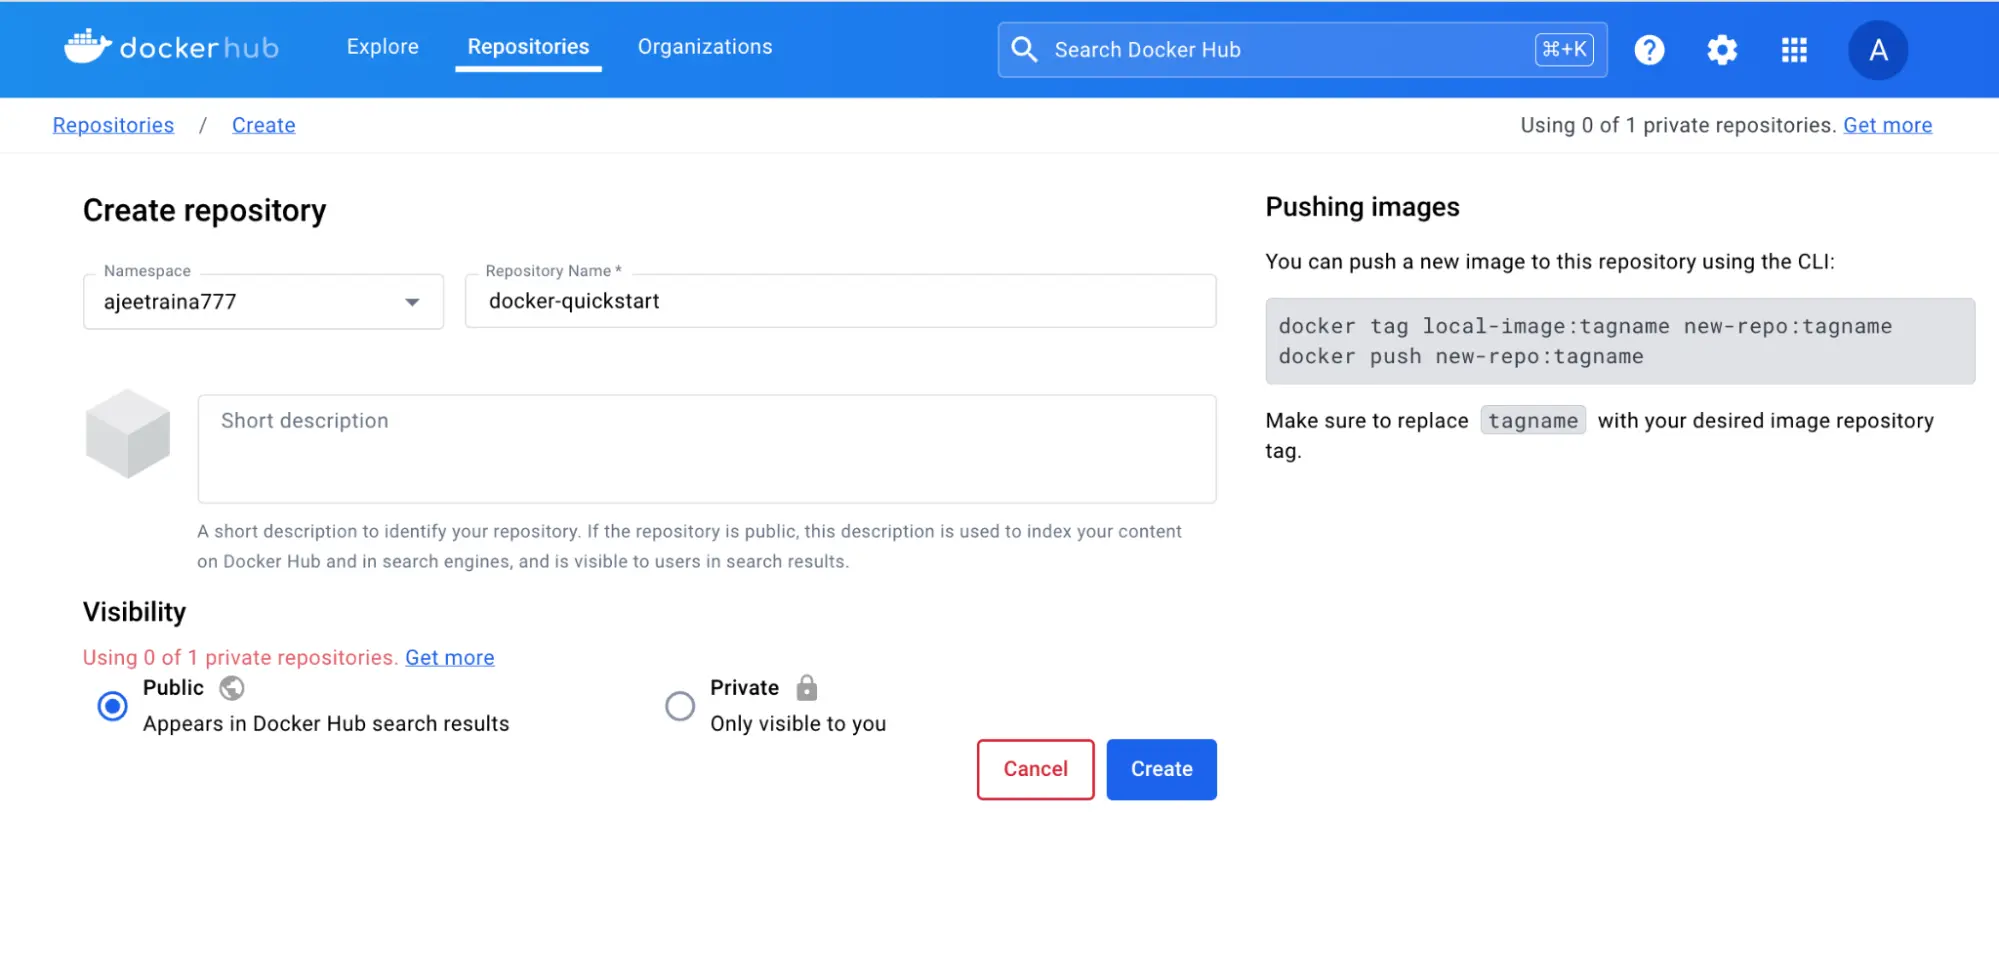
Set the visibility to Public.可視性を公開に設定します。
Select the Create button to create the repository.リポジトリを作成するために作成ボタンを選択します。
That's it. You've successfully created your first repository. 🎉これで完了です。最初のリポジトリを正常に作成しました。🎉
This repository is empty right now. You'll now fix this by pushing an image to it.このリポジトリは現在空です。これからイメージをプッシュして修正します。
Sign in with Docker DesktopDocker Desktopでサインインする
- Download and install Docker Desktop, if not already installed.Docker Desktopをダウンロードしてインストールします。まだインストールしていない場合。
- In the Docker Desktop GUI, select the Sign in button in the top-right cornerDocker DesktopのGUIで、右上隅のサインインボタンを選択します。
Clone sample Node.js codeサンプルNode.jsコードをクローンする
In order to create an image, you first need a project. To get you started quickly, you'll use a sample Node.js project found at github.com/dockersamples/helloworld-demo-node. This repository contains a pre-built Dockerfile necessary for building a Docker image.イメージを作成するには、まずプロジェクトが必要です。すぐに始められるように、github.com/dockersamples/helloworld-demo-nodeにあるサンプルNode.jsプロジェクトを使用します。このリポジトリには、Dockerイメージをビルドするために必要な事前構築されたDockerfileが含まれています。
Don't worry about the specifics of the Dockerfile, as you'll learn about that in later sections.Dockerfileの詳細については心配しないでください。後のセクションで学ぶことになります。
Clone the GitHub repository using the following command:次のコマンドを使用してGitHubリポジトリをクローンします:
git clone https://github.com/dockersamples/helloworld-demo-nodeNavigate into the newly created directory.新しく作成されたディレクトリに移動します。
cd helloworld-demo-nodeRun the following command to build a Docker image, swapping out
YOUR_DOCKER_USERNAMEwith your username.次のコマンドを実行してDockerイメージをビルドします。YOUR_DOCKER_USERNAMEをあなたのユーザー名に置き換えてください。docker build -t YOUR_DOCKER_USERNAME/docker-quickstart .NoteMake sure you include the dot (.) at the end of the
docker buildcommand. This tells Docker where to find the Dockerfile.docker buildコマンドの最後にドット(.)を含めることを忘れないでください。これにより、DockerはDockerfileの場所を認識します。Run the following command to list the newly created Docker image:次のコマンドを実行して、新しく作成されたDockerイメージをリストします:
docker imagesYou will see output like the following:次のような出力が表示されます:
REPOSITORY                                 TAG       IMAGE ID       CREATED         SIZE
YOUR_DOCKER_USERNAME/docker-quickstart   latest    476de364f70e   2 minutes ago   170MB
Start a container to test the image by running the following command (swap out the username with your own username):イメージをテストするためにコンテナを起動するには、次のコマンドを実行します(ユーザー名は自分のものに置き換えてください):
docker run -d -p 8080:8080 YOUR_DOCKER_USERNAME/docker-quickstartYou can verify if the container is working by visiting http://localhost:8080 with your browser.コンテナが動作しているかどうかを確認するには、ブラウザで http://localhost:8080 にアクセスしてください。
Use the
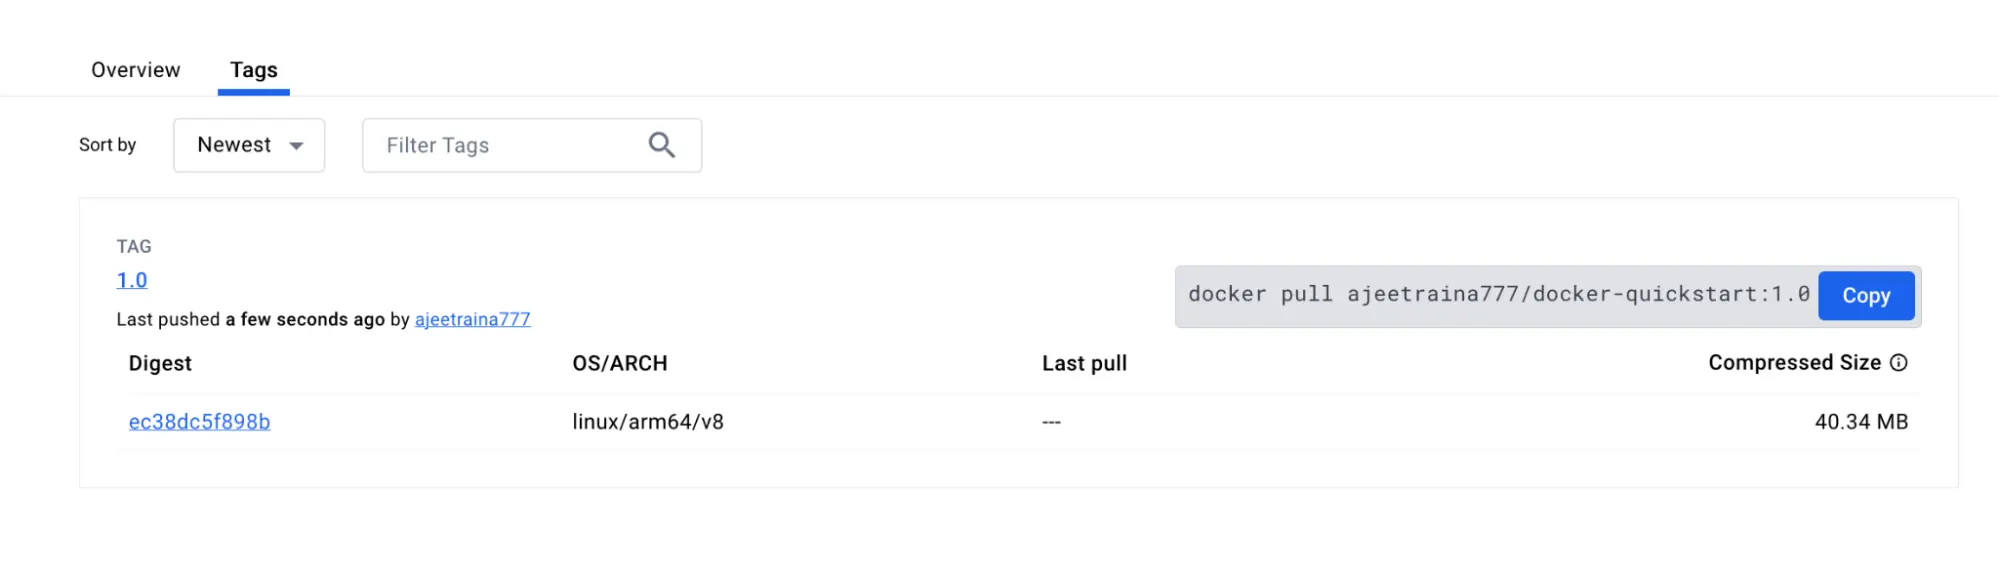
docker tagcommand to tag the Docker image. Docker tags allow you to label and version your images.Dockerイメージにタグを付けるには、docker tagコマンドを使用します。Dockerタグを使用すると、イメージにラベルを付けたり、バージョン管理を行ったりできます。docker tag YOUR_DOCKER_USERNAME/docker-quickstart YOUR_DOCKER_USERNAME/docker-quickstart:1.0Finally, it's time to push the newly built image to your Docker Hub repository by using the
docker pushcommand:最後に、新しくビルドしたイメージをDocker Hubリポジトリにプッシュする時が来ました。docker pushコマンドを使用します:docker push YOUR_DOCKER_USERNAME/docker-quickstart:1.0Open Docker Hub and navigate to your repository. Navigate to the Tags section and see your newly pushed image.Docker Hubを開き、リポジトリに移動します。Tags セクションに移動し、新しくプッシュしたイメージを確認してください。
In this walkthrough, you signed up for a Docker account, created your first Docker Hub repository, and built, tagged, and pushed a container image to your Docker Hub repository.このウォークスルーでは、Dockerアカウントにサインアップし、最初のDocker Hubリポジトリを作成し、コンテナイメージをビルド、タグ付け、プッシュしました。
Additional resources追加リソース
Next steps次のステップ
Now that you understand the basics of containers and images, you're ready to learn about Docker Compose.コンテナとイメージの基本を理解したので、Docker Composeについて学ぶ準備が整いました。
What is Docker Compose?