Share the applicationアプリケーションを共有する
Now that you've built an image, you can share it. To share Docker images, you have to use a Docker registry. The default registry is Docker Hub and is where all of the images you've used have come from.イメージをビルドしたので、共有できます。Docker イメージを共有するには、Docker レジストリを使用する必要があります。デフォルトのレジストリは Docker Hub で、これまで使用したすべてのイメージがここから来ています。
Docker IDDocker ID
A Docker ID lets you access Docker Hub, which is the world's largest library and community for container images. Create a Docker ID for free if you don't have one.Docker ID を使用すると、世界最大のコンテナイメージのライブラリとコミュニティである Docker Hub にアクセスできます。まだ持っていない場合は、Docker ID を無料で作成してください。
Create a repositoryリポジトリを作成する
To push an image, you first need to create a repository on Docker Hub.イメージをプッシュするには、まず Docker Hub にリポジトリを作成する必要があります。
Sign up or Sign in to Docker Hub.サインアップ または Docker Hub にサインインしてください。
Select the Create Repository button.リポジトリの作成ボタンを選択します。
For the repository name, use
getting-started. Make sure the Visibility is Public.リポジトリ名にはgetting-startedを使用します。可視性が公開であることを確認してください。Select Create.作成を選択します。
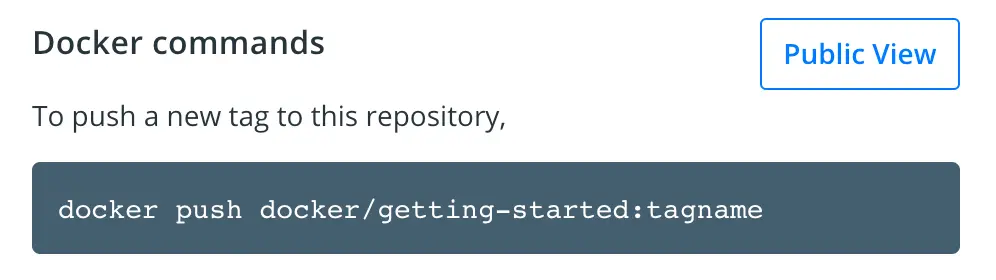
In the following image, you can see an example Docker command from Docker Hub. This command will push to this repository.次の画像には、Docker HubからのDockerコマンドの例が示されています。このコマンドは、このリポジトリにプッシュします。
Push the imageイメージをプッシュする
Let's try to push the image to Docker Hub.画像をDocker Hubにプッシュしてみましょう。
In the command line, run the following command:コマンドラインで、次のコマンドを実行します:
docker push docker/getting-startedYou'll see an error like this:次のようなエラーが表示されます:
$ docker push docker/getting-started
The push refers to repository [docker.io/docker/getting-started]
An image does not exist locally with the tag: docker/getting-started
This failure is expected because the image isn't tagged correctly yet. Docker is looking for an image name
docker/getting started, but your local image is still namedgetting-started.この失敗は予期されるもので、画像がまだ正しくタグ付けされていないためです。 Dockerは画像名docker/getting startedを探していますが、あなたの ローカル画像はまだgetting-startedという名前です。You can confirm this by running:これを確認するには、次のコマンドを実行します:
docker image lsTo fix this, first sign in to Docker Hub using your Docker ID:
docker login YOUR-USER-NAME.これを修正するには、まずDocker IDを使用してDocker Hubにサインインします:docker login YOUR-USER-NAME。Use the
docker tagcommand to give thegetting-startedimage a new name. ReplaceYOUR-USER-NAMEwith your Docker ID.次に、docker tagコマンドを使用して、getting-startedイメージに新しい名前を付けます。YOUR-USER-NAMEをあなたのDocker IDに置き換えてください。$ docker tag getting-started YOUR-USER-NAME/getting-startedNow run the
docker pushcommand again. If you're copying the value from Docker Hub, you can drop thetagnamepart, as you didn't add a tag to the image name. If you don't specify a tag, Docker uses a tag calledlatest.次に、再度docker pushコマンドを実行します。Docker Hubから値をコピーしている場合は、イメージ名にタグを追加していないため、tagname部分を省略できます。タグを指定しない場合、Dockerはlatestというタグを使用します。$ docker push YOUR-USER-NAME/getting-started
Run the image on a new instance新しいインスタンスでイメージを実行する
Now that your image has been built and pushed into a registry, try running your app on a brand new instance that has never seen this container image. To do this, you will use Play with Docker.イメージがビルドされ、レジストリにプッシュされたので、このコンテナイメージを見たことがない新しいインスタンスでアプリを実行してみてください。そのためには、Play with Dockerを使用します。
NotePlay with Docker uses the amd64 platform. If you are using an ARM based Mac with Apple silicon, you will need to rebuild the image to be compatible with Play with Docker and push the new image to your repository.Play with Dockerはamd64プラットフォームを使用します。Appleシリコンを搭載したARMベースのMacを使用している場合は、Play with Dockerと互換性のあるようにイメージを再ビルドし、新しいイメージをリポジトリにプッシュする必要があります。
To build an image for the amd64 platform, use the
--platformflag.amd64プラットフォーム用のイメージをビルドするには、--platformフラグを使用します。$ docker build --platform linux/amd64 -t YOUR-USER-NAME/getting-started .Docker buildx also supports building multi-platform images. To learn more, see Multi-platform images.Docker buildxは、マルチプラットフォームイメージのビルドもサポートしています。詳細については、マルチプラットフォームイメージを参照してください。
Open your browser to Play with Docker.ブラウザを開いてPlay with Dockerにアクセスします。
Select Login and then select docker from the drop-down list.ログインを選択し、ドロップダウンリストからdockerを選択します。
Sign in with your Docker Hub account and then select Start.Docker Hubアカウントでサインインし、次に開始を選択します。
Select the ADD NEW INSTANCE option on the left side bar. If you don't see it, make your browser a little wider. After a few seconds, a terminal window opens in your browser.左側のサイドバーで新しいインスタンスを追加オプションを選択します。表示されない場合は、ブラウザを少し広げてください。数秒後に、ブラウザにターミナルウィンドウが開きます。
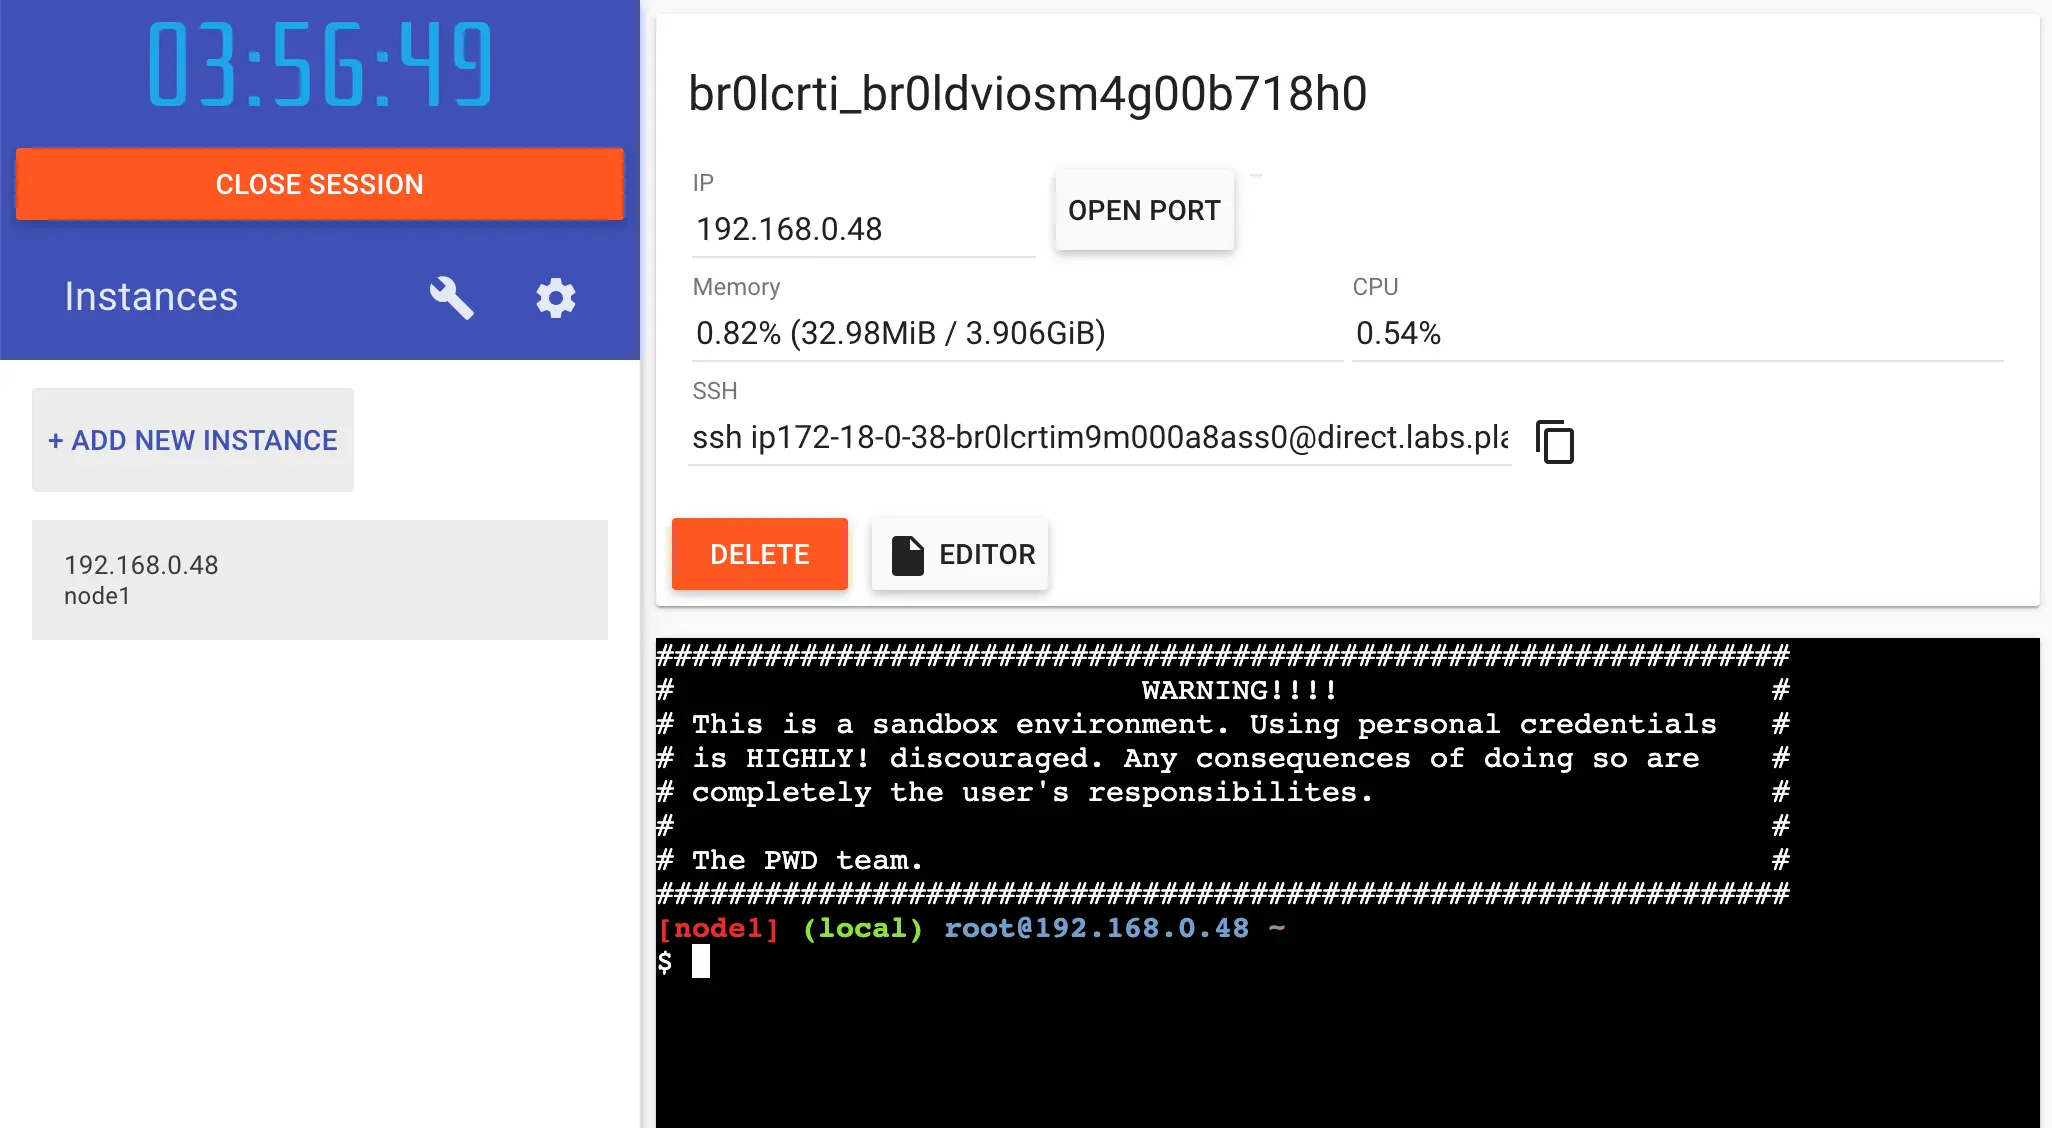
In the terminal, start your freshly pushed app.ターミナルで、新しくプッシュしたアプリを起動します。
$ docker run -dp 0.0.0.0:3000:3000 YOUR-USER-NAME/getting-startedYou should see the image get pulled down and eventually start up.イメージがプルされ、最終的に起動するのが見えるはずです。
TipYou may have noticed that this command binds the port mapping to a different IP address. Previous
docker runcommands published ports to127.0.0.1:3000on the host. This time, you're using0.0.0.0.このコマンドがポートマッピングを異なるIPアドレスにバインドすることに気づいたかもしれません。以前のdocker runコマンドは、ホストの127.0.0.1:3000にポートを公開しました。今回は0.0.0.0を使用しています。Binding to
127.0.0.1only exposes a container's ports to the loopback interface. Binding to0.0.0.0, however, exposes the container's port on all interfaces of the host, making it available to the outside world.127.0.0.1にバインドすると、コンテナのポートはループバックインターフェースにのみ公開されます。しかし、0.0.0.0にバインドすると、ホストのすべてのインターフェースでコンテナのポートが公開され、外部からアクセスできるようになります。For more information about how port mapping works, see Networking.ポートマッピングの仕組みについての詳細は、ネットワーキングを参照してください。
Select the 3000 badge when it appears.3000バッジが表示されたら選択します。
If the 3000 badge doesn't appear, you can select Open Port and specify
3000.3000バッジが表示されない場合は、ポートを開くを選択し、3000を指定できます。
Summary概要
In this section, you learned how to share your images by pushing them to a registry. You then went to a brand new instance and were able to run the freshly pushed image. This is quite common in CI pipelines, where the pipeline will create the image and push it to a registry and then the production environment can use the latest version of the image.このセクションでは、イメージをレジストリにプッシュして共有する方法を学びました。その後、まったく新しいインスタンスに移動し、新しくプッシュしたイメージを実行できました。これはCIパイプラインでは非常に一般的で、パイプラインがイメージを作成し、レジストリにプッシュし、その後本番環境が最新のイメージバージョンを使用できるようになります。
Related information:関連情報:
- docker CLI referencedocker CLIリファレンス
- Multi-platform imagesマルチプラットフォームイメージ
- Docker Hub overviewDocker Hubの概要
Next steps次のステップ
In the next section, you'll learn how to persist data in your containerized application.次のセクションでは、コンテナ化されたアプリケーションでデータを永続化する方法を学びます。
Persist the DB