Build and push your first image最初のイメージをビルドしてプッシュする
Explanation説明
Now that you've updated the to-do list app, you’re ready to create a container image for the application and share it on Docker Hub. To do so, you will need to do the following:To-doリストアプリを更新したので、アプリケーションのコンテナイメージを作成し、Docker Hubで共有する準備が整いました。そのためには、以下の手順を実行する必要があります:
- Sign in with your Docker accountDockerアカウントでサインイン
- Create an image repository on Docker HubDocker Hubにイメージリポジトリを作成
- Build the container imageコンテナイメージをビルド
- Push the image to Docker HubイメージをDocker Hubにプッシュ
Before you dive into the hands-on guide, the following are a few core concepts that you should be aware of.ハンズオンガイドに入る前に、知っておくべきいくつかのコアコンセプトがあります。
Container imagesコンテナイメージ
If you’re new to container images, think of them as a standardized package that contains everything needed to run an application, including its files, configuration, and dependencies. These packages can then be distributed and shared with others.コンテナイメージに不慣れな場合は、アプリケーションを実行するために必要なすべてのファイル、設定、依存関係を含む標準化されたパッケージと考えてください。これらのパッケージは、他の人と配布および共有できます。
Docker HubDocker Hub
To share your Docker images, you need a place to store them. This is where registries come in. While there are many registries, Docker Hub is the default and go-to registry for images. Docker Hub provides both a place for you to store your own images and to find images from others to either run or use as the bases for your own images.Dockerイメージを共有するには、それらを保存する場所が必要です。ここでレジストリが登場します。多くのレジストリがありますが、Docker Hubはイメージのデフォルトであり、主要なレジストリです。Docker Hubは、自分のイメージを保存する場所と、他の人のイメージを見つけて実行したり、自分のイメージのベースとして使用したりするための場所を提供します。
In Develop with containers, you used the following images that came from Docker Hub, each of which are Docker Official Images:コンテナでの開発では、Docker Hubから取得した以下のイメージを使用しました。これらはすべて Docker公式イメージです:
- node - provides a Node environment and is used as the base of your development efforts. This image is also used as the base for the final application image.node - Node環境を提供し、開発作業のベースとして使用されます。このイメージは、最終的なアプリケーションイメージのベースとしても使用されます。
- mysql - provides a MySQL database to store the to-do list itemsmysql - To-doリストアイテムを保存するためのMySQLデータベースを提供します。
- phpmyadmin - provides phpMyAdmin, a web-based interface to the MySQL databasephpmyadmin - MySQLデータベースへのウェブベースのインターフェースであるphpMyAdminを提供します。
- traefik - provides Traefik, a modern HTTP reverse proxy and load balancer that routes requests to the appropriate container based on routing rulestraefik - ルーティングルールに基づいてリクエストを適切なコンテナにルーティングする現代的なHTTPリバースプロキシおよびロードバランサーであるTraefikを提供します。
Explore the full catalog of Docker Official Images, Docker Verified Publishers, and Docker Sponsored Open Source Software images to see more of what there is to run and build on.完全なカタログを探索するには、Docker公式イメージ、Docker認定パブリッシャー、およびDockerスポンサーのオープンソースソフトウェアのイメージを確認して、実行および構築できるものをさらに見てみましょう。
Try it out試してみる
In this hands-on guide, you'll learn how to sign in to Docker Hub and push images to Docker Hub repository.このハンズオンガイドでは、Docker Hubにサインインし、イメージをDocker Hubリポジトリにプッシュする方法を学びます。
Sign in with your Docker accountDockerアカウントでサインイン
To push images to Docker Hub, you will need to sign in with a Docker account.Docker Hubにイメージをプッシュするには、Dockerアカウントでサインインする必要があります。
Open the Docker Dashboard.Dockerダッシュボードを開きます。
Select Sign in at the top-right corner.右上隅のサインインを選択します。
If needed, create an account and then complete the sign-in flow.必要に応じてアカウントを作成し、その後サインインフローを完了します。
Once you're done, you should see the Sign in button turn into a profile picture.完了すると、サインインボタンがプロフィール画像に変わるはずです。
Create an image repositoryイメージリポジトリを作成
Now that you have an account, you can create an image repository. Just as a Git repository holds source code, an image repository stores container images.アカウントを作成したので、イメージリポジトリを作成できます。Gitリポジトリがソースコードを保持するのと同様に、イメージリポジトリはコンテナイメージを保存します。
Go to Docker Hub.次に、Docker Hubに移動します。
Select Create repository.リポジトリの作成を選択します。
On the Create repository page, enter the following information:リポジトリの作成ページで、以下の情報を入力します:
- Repository name -
getting-started-todo-appリポジトリ名 -getting-started-todo-app - Short description - feel free to enter a description if you'd like短い説明 - 必要に応じて説明を入力してください
- Visibility - select Public to allow others to pull your customized to-do app可視性 - 他の人があなたのカスタマイズされたTo-Doアプリをプルできるようにするために公開を選択します
- Repository name -
Select Create to create the repository.作成を選択してリポジトリを作成します。
Build and push the imageイメージをビルドしてプッシュする
Now that you have a repository, you are ready to build and push your image. An important note is that the image you are building extends the Node image, meaning you don't need to install or configure Node, yarn, etc. You can simply focus on what makes your application unique.リポジトリができたので、イメージをビルドしてプッシュする準備が整いました。重要な点は、ビルドしているイメージがNodeイメージを拡張しているため、Nodeやyarnなどをインストールまたは設定する必要がないことです。アプリケーションをユニークにする要素に集中できます。
What is an image/Dockerfile?イメージ/Dockerfileとは何ですか?
Without going too deep yet, think of a container image as a single package that contains everything needed to run a process. In this case, it will contain a Node environment, the backend code, and the compiled React code.まだ深く掘り下げることはありませんが、コンテナイメージをプロセスを実行するために必要なすべてを含む単一のパッケージと考えてください。この場合、Node環境、バックエンドコード、およびコンパイルされたReactコードが含まれます。
Any machine that runs a container using the image, will then be able to run the application as it was built without needing anything else pre-installed on the machine.イメージを使用してコンテナを実行する任意のマシンは、マシンに事前にインストールされているものが何も必要なく、アプリケーションを構築された通りに実行できるようになります。
A
Dockerfileis a text-based script that provides the instruction set on how to build the image. For this quick start, the repository already contains the Dockerfile.Dockerfileは、イメージを構築する方法に関する命令セットを提供するテキストベースのスクリプトです。このクイックスタートのために、リポジトリにはすでにDockerfileが含まれています。
To get started, either clone or download the project as a ZIP file to your local machine.始めるには、プロジェクトをローカルマシンにクローンするか、ZIPファイルとしてプロジェクトをダウンロードしてください。
$ git clone https://github.com/docker/getting-started-todo-appAnd after the project is cloned, navigate into the new directory created by the clone:プロジェクトがクローンされたら、クローンによって作成された新しいディレクトリに移動します:
$ cd getting-started-todo-appBuild the project by running the following command, swapping out
DOCKER_USERNAMEwith your username.次のコマンドを実行してプロジェクトをビルドします。DOCKER_USERNAMEをあなたのユーザー名に置き換えてください。$ docker build -t DOCKER_USERNAME/getting-started-todo-app .For example, if your Docker username was
mobydock, you would run the following:例えば、あなたのDockerユーザー名がmobydockであれば、次のように実行します:$ docker build -t mobydock/getting-started-todo-app .To verify the image exists locally, you can use the
docker image lscommand:イメージがローカルに存在することを確認するには、docker image lsコマンドを使用できます:$ docker image lsYou will see output similar to the following:次のような出力が表示されます:
REPOSITORY                          TAG       IMAGE ID       CREATED          SIZE
mobydock/getting-started-todo-app   latest    1543656c9290   2 minutes ago    1.12GB
...
To push the image, use the
docker pushcommand. Be sure to replaceDOCKER_USERNAMEwith your username:イメージをプッシュするには、docker pushコマンドを使用します。必ずDOCKER_USERNAMEをあなたのユーザー名に置き換えてください:$ docker push DOCKER_USERNAME/getting-started-todo-appDepending on your upload speeds, this may take a moment to push.アップロード速度によっては、プッシュするのに少し時間がかかる場合があります。
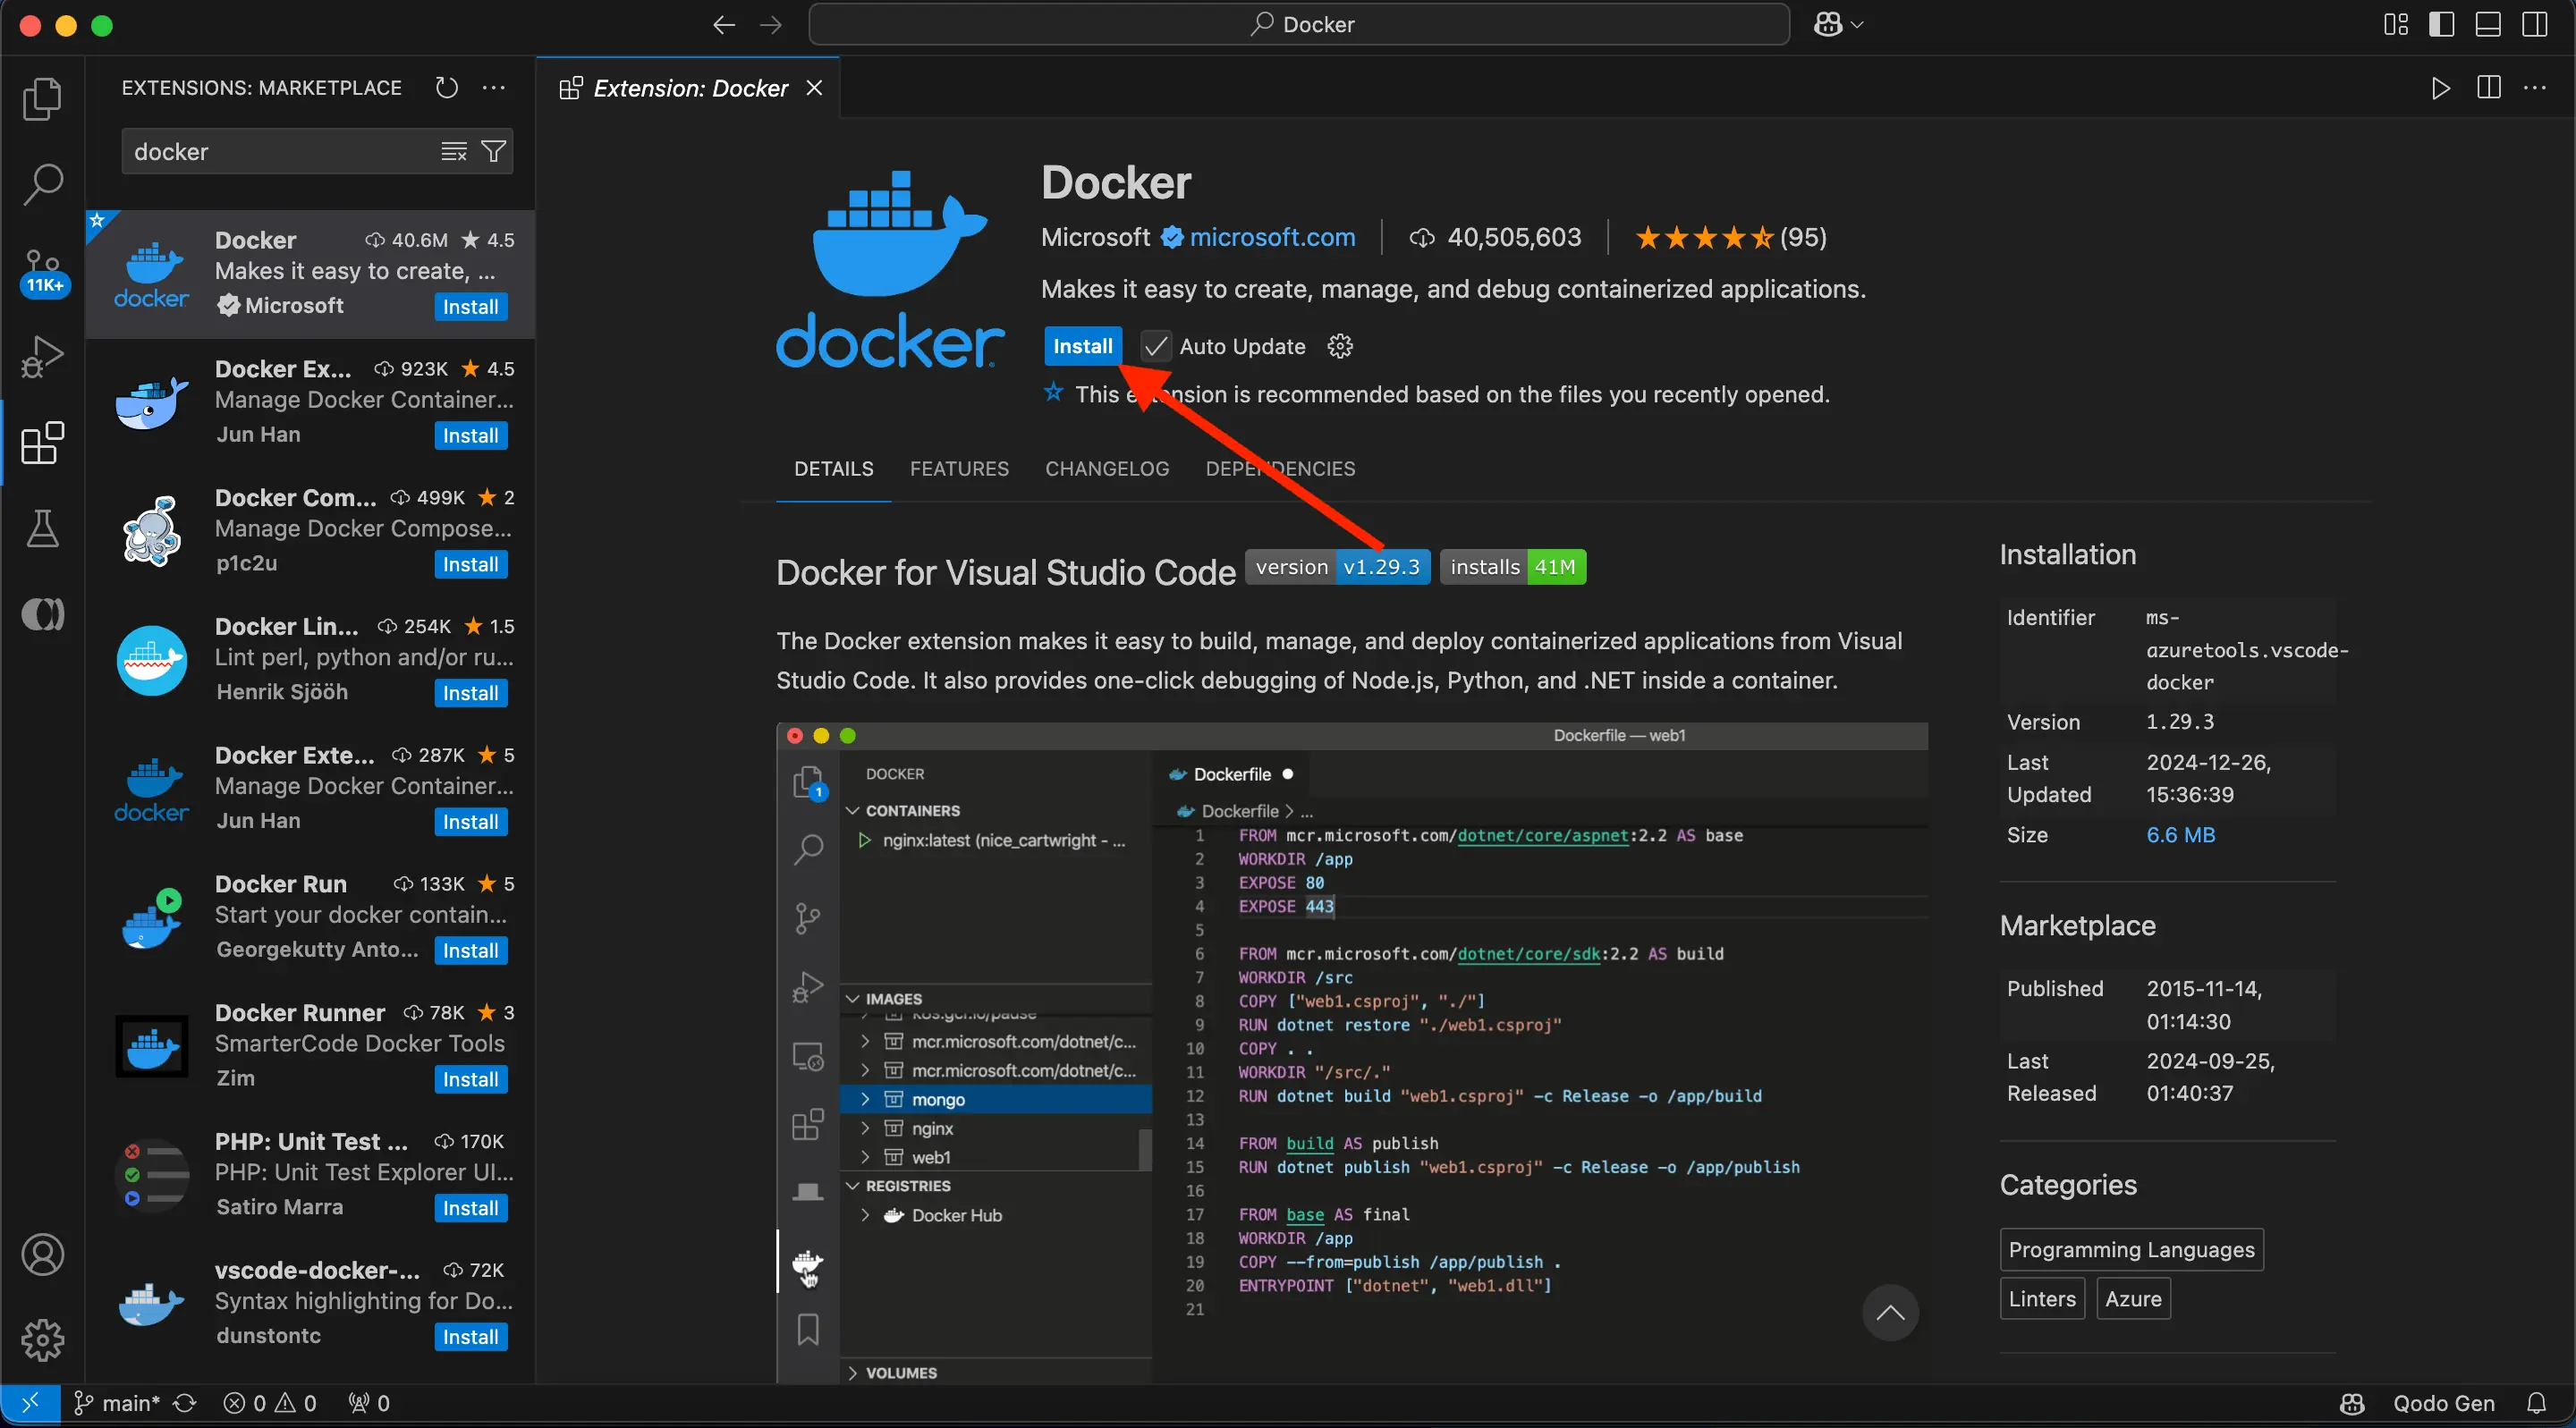
Open Visual Studio Code. Ensure you have the Docker extension for VS Code installed from Extension Marketplace.Visual Studio Codeを開きます。Docker extension for VS CodeがExtension Marketplaceからインストールされていることを確認してください。
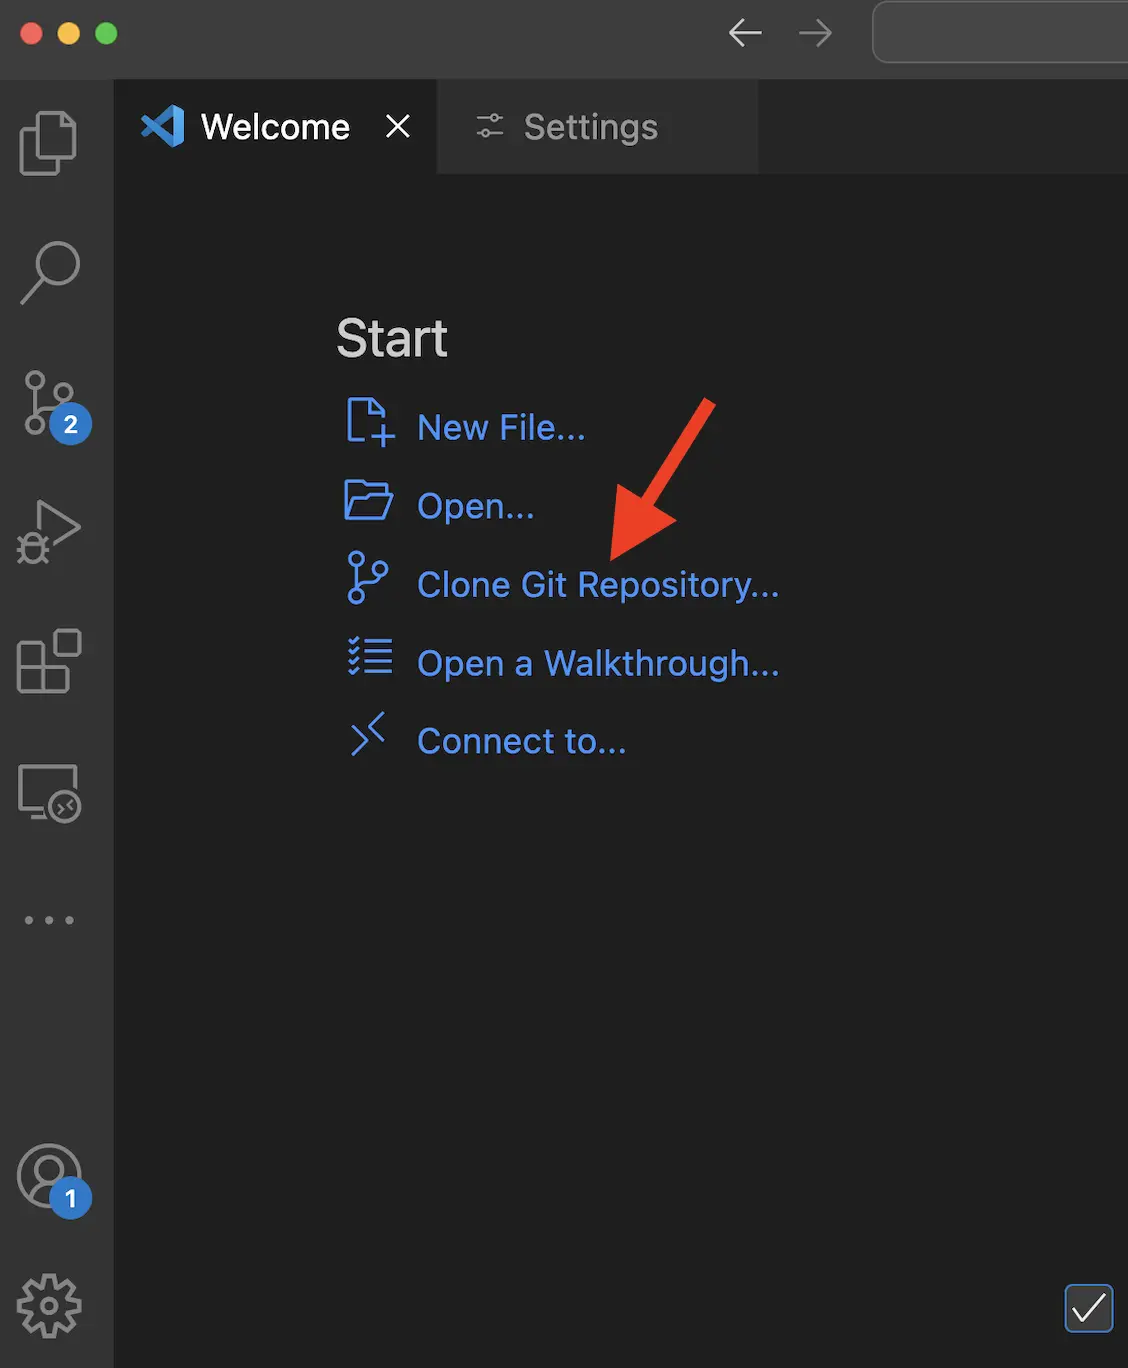
In the File menu, select Open Folder. Choose Clone Git Repository and paste this URL: https://github.com/docker/getting-started-todo-appFileメニューからOpen Folderを選択します。Clone Git Repositoryを選び、このURLを貼り付けます: https://github.com/docker/getting-started-todo-app
Right-click the
Dockerfileand select the Build Image... menu item.Dockerfileを右クリックし、Build Image...メニュー項目を選択します。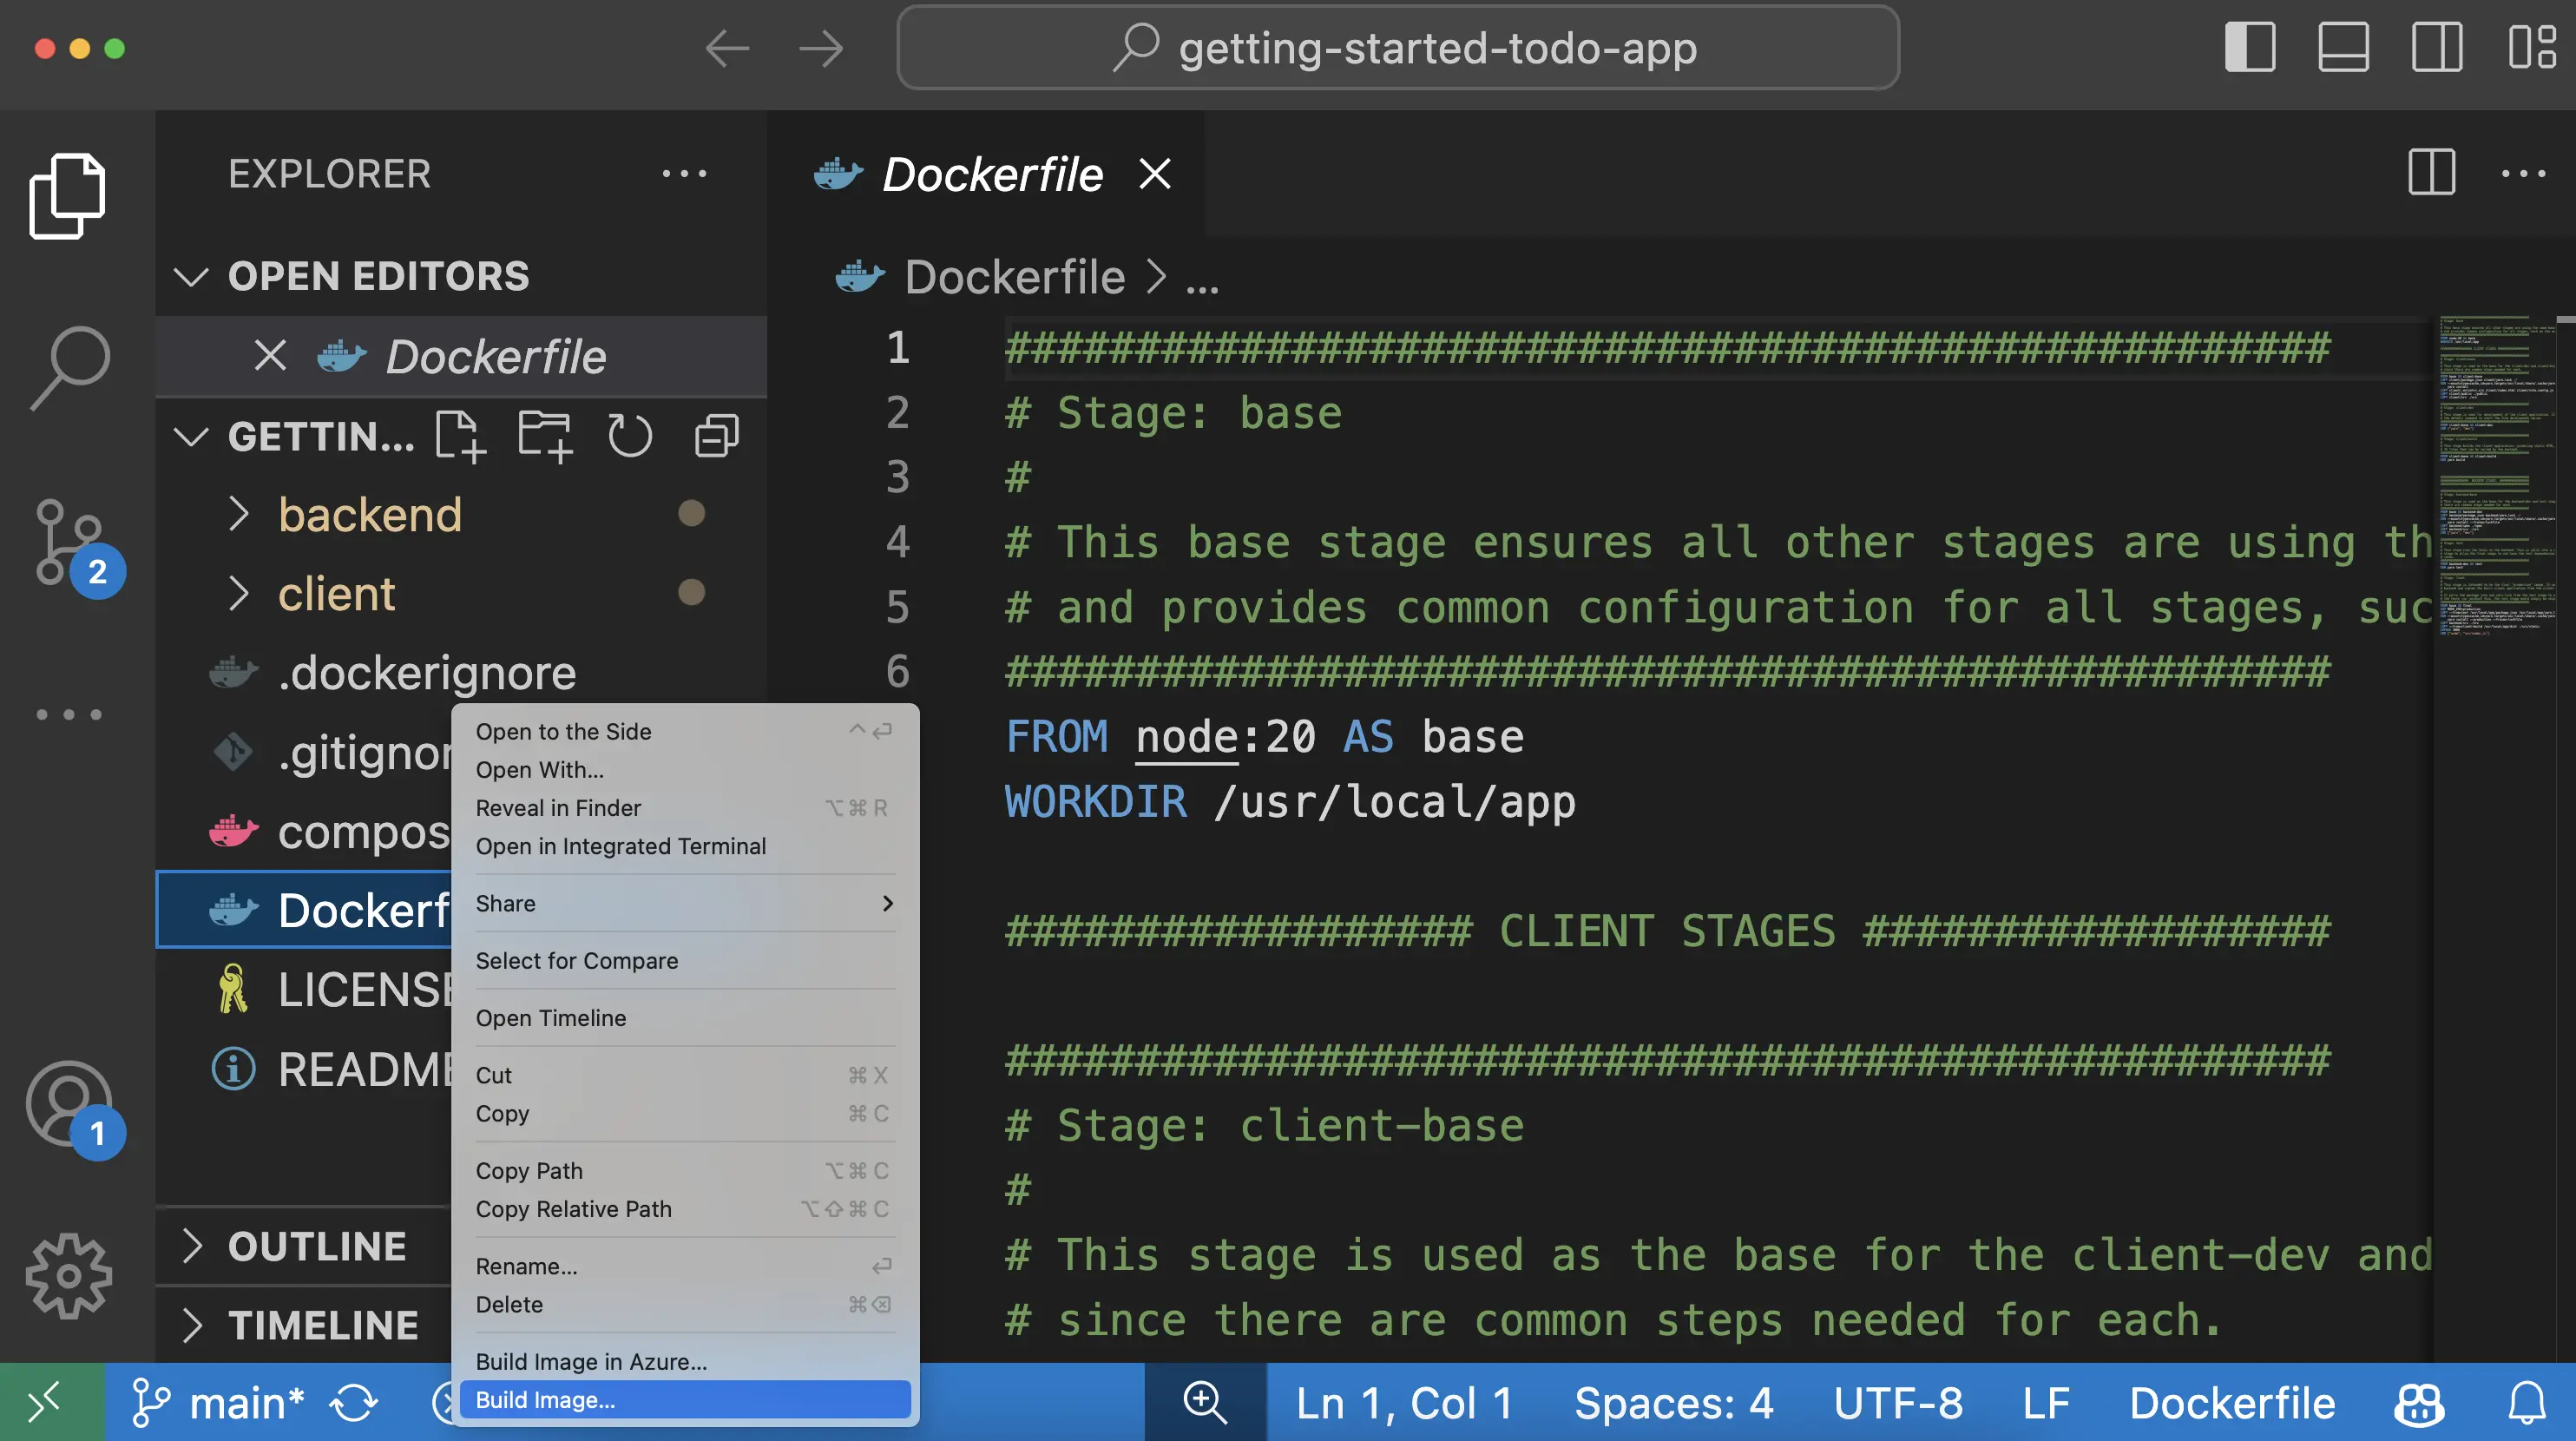
In the dialog that appears, enter a name of
DOCKER_USERNAME/getting-started-todo-app, replacingDOCKER_USERNAMEwith your Docker username.表示されるダイアログに、DOCKER_USERNAME/getting-started-todo-appという名前を入力します。DOCKER_USERNAMEはあなたのDockerユーザー名に置き換えてください。After pressing Enter, you'll see a terminal appear where the build will occur. Once it's completed, feel free to close the terminal.Enterを押すと、ビルドが行われるターミナルが表示されます。ビルドが完了したら、ターミナルを閉じても構いません。
Open the Docker Extension for VS Code by selecting the Docker logo in the left nav menu.左側のナビゲーションメニューでDockerロゴを選択して、VS CodeのDocker Extensionを開きます。
Find the image you created. It'll have a name of
docker.io/DOCKER_USERNAME/getting-started-todo-app.作成したイメージを見つけます。それはdocker.io/DOCKER_USERNAME/getting-started-todo-appという名前になります。Expand the image to view the tags (or different versions) of the image. You should see a tag named
latest, which is the default tag given to an image.イメージを展開して、イメージのタグ(または異なるバージョン)を表示します。latestという名前のタグが表示されるはずです。これはイメージに与えられるデフォルトのタグです。Right-click on the latest item and select the Push... option.latest項目を右クリックし、Push...オプションを選択します。
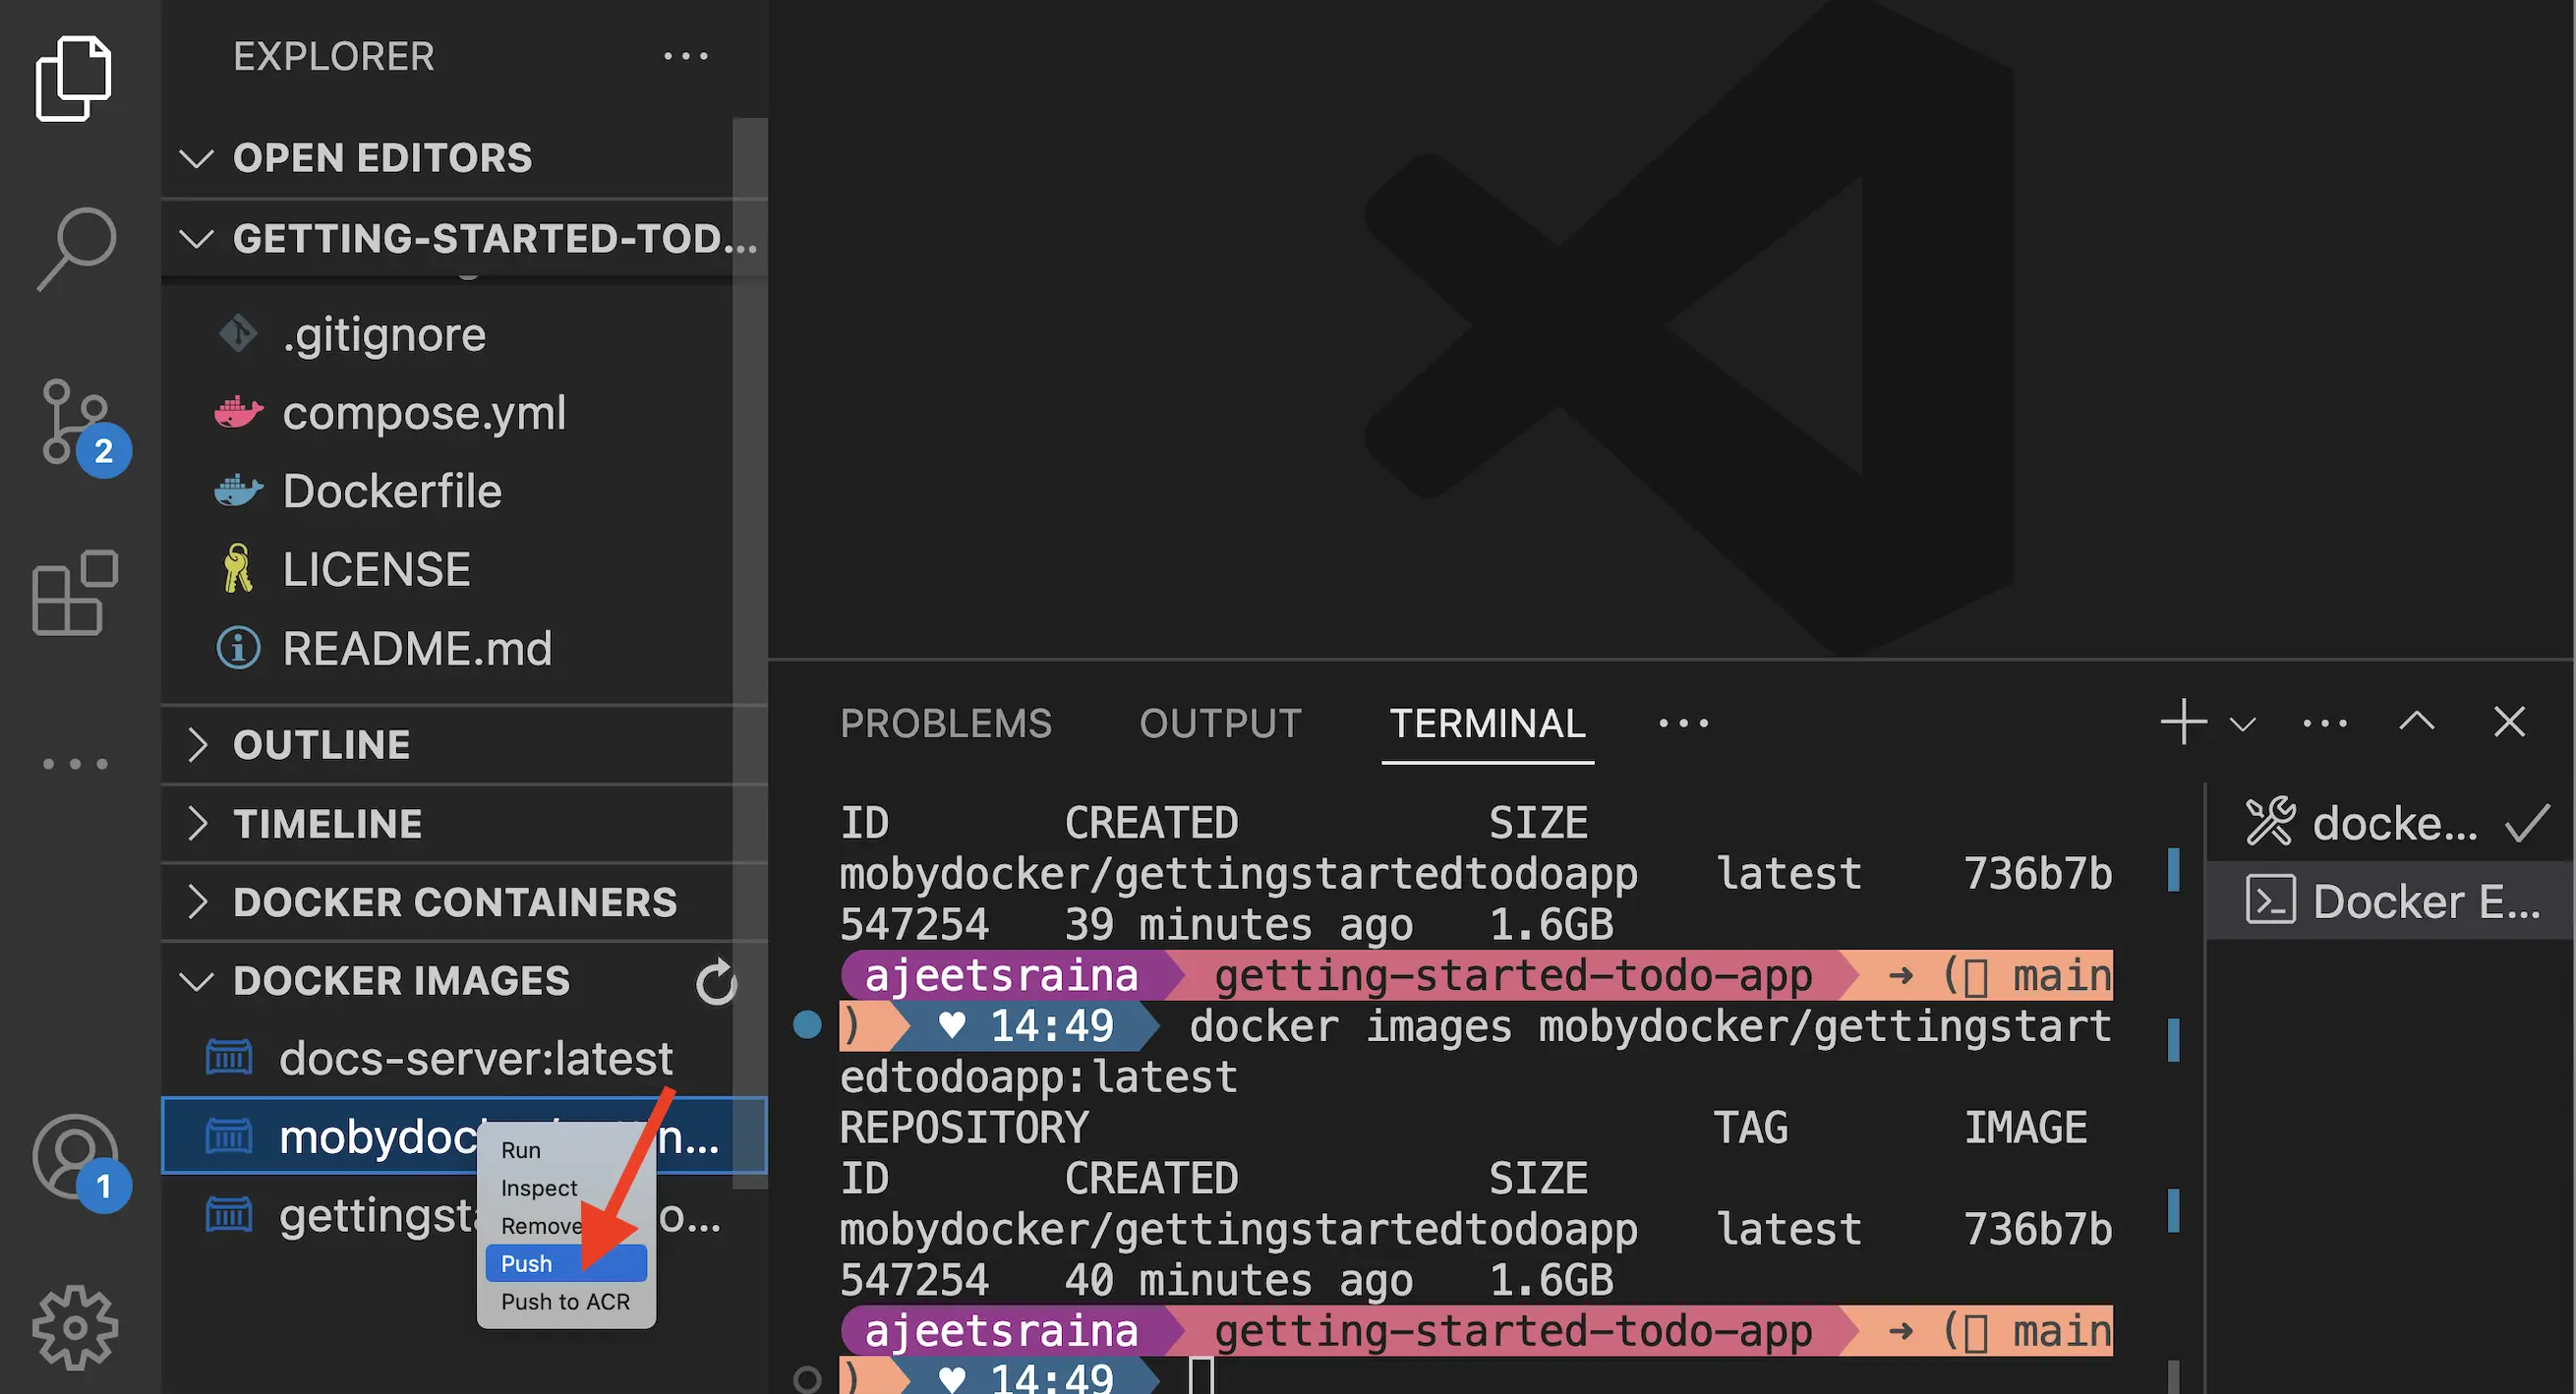
Press Enter to confirm and then watch as your image is pushed to Docker Hub. Depending on your upload speeds, it might take a moment to push the image.Enterを押して確認し、あなたのイメージがDocker Hubにプッシュされる様子を見守ります。アップロード速度によっては、イメージをプッシュするのに少し時間がかかる場合があります。
Once the upload is finished, feel free to close the terminal.アップロードが完了したら、ターミナルを閉じて構いません。
Recap振り返り
Before you move on, take a moment and reflect on what happened here. Within a few moments, you were able to build a container image that packages your application and push it to Docker Hub.次に進む前に、ここで何が起こったのかを少し考えてみてください。ほんの数分で、アプリケーションをパッケージ化したコンテナイメージを構築し、それをDocker Hubにプッシュすることができました。
Going forward, you’ll want to remember that:今後は、以下のことを覚えておくと良いでしょう:
Docker Hub is the go-to registry for finding trusted content. Docker provides a collection of trusted content, composed of Docker Official Images, Docker Verified Publishers, and Docker Sponsored Open Source Software, to use directly or as bases for your own images.Docker Hubは信頼できるコンテンツを見つけるための主要なレジストリです。Dockerは、Docker公式イメージ、Docker認定パブリッシャー、Dockerスポンサーのオープンソースソフトウェアで構成された信頼できるコンテンツのコレクションを提供しており、これを直接使用したり、自分のイメージのベースとして使用したりできます。
Docker Hub provides a marketplace to distribute your own applications. Anyone can create an account and distribute images. While you are publicly distributing the image you created, private repositories can ensure your images are accessible to only authorized users.Docker Hubは、自分のアプリケーションを配布するためのマーケットプレイスを提供します。誰でもアカウントを作成し、イメージを配布できます。作成したイメージを公開して配布している間、プライベートリポジトリを使用することで、イメージを認可されたユーザーのみにアクセス可能にすることができます。
Usage of other registries他のレジストリの使用
While Docker Hub is the default registry, registries are standardized and made interoperable through the Open Container Initiative. This allows companies and organizations to run their own private registries. Quite often, trusted content is mirrored (or copied) from Docker Hub into these private registries.Docker Hubはデフォルトのレジストリですが、レジストリは標準化され、Open Container Initiativeを通じて相互運用可能にされています。これにより、企業や組織は独自のプライベートレジストリを運営できます。信頼できるコンテンツは、しばしばDocker Hubからこれらのプライベートレジストリにミラーリング(またはコピー)されます。
Next steps次のステップ
Now that you’ve built an image, it's time to discuss why you as a developer should learn more about Docker and how it will help you in your day-to-day tasks.イメージを構築したので、開発者としてDockerについてもっと学ぶべき理由と、それが日常業務にどのように役立つかについて話しましょう。
What's Next