Develop with containersコンテナでの開発
Explanation説明
Now that you have Docker Desktop installed, you are ready to do some application development. Specifically, you will do the following:Docker Desktopがインストールされたので、アプリケーション開発を行う準備が整いました。具体的には、次のことを行います:
- Clone and start a development projectプロジェクトをクローンして開発プロジェクトを開始する
- Make changes to the backend and frontendバックエンドとフロントエンドに変更を加える
- See the changes immediately変更をすぐに確認する
Try it out試してみる
In this hands-on guide, you'll learn how to develop with containers.このハンズオンガイドでは、コンテナを使用して開発する方法を学びます。
Start the projectプロジェクトを開始する
To get started, either clone or download the project as a ZIP file to your local machine.始めるには、プロジェクトをローカルマシンにクローンするか、ZIPファイルとしてプロジェクトをダウンロードしてください。
$ git clone https://github.com/docker/getting-started-todo-appAnd after the project is cloned, navigate into the new directory created by the clone:プロジェクトがクローンされたら、クローンによって作成された新しいディレクトリに移動します:
$ cd getting-started-todo-appOnce you have the project, start the development environment using Docker Compose.プロジェクトを取得したら、Docker Composeを使用して開発環境を開始します。
To start the project using the CLI, run the following command:CLIを使用してプロジェクトを開始するには、次のコマンドを実行します:
$ docker compose watchYou will see an output that shows container images being pulled down, containers starting, and more. Don't worry if you don't understand it all at this point. But, within a moment or two, things should stabilize and finish.コンテナイメージがプルされ、コンテナが起動する様子を示す出力が表示されます。現時点ではすべてを理解できなくても心配しないでください。しかし、数瞬のうちに、状況は安定し、完了するはずです。
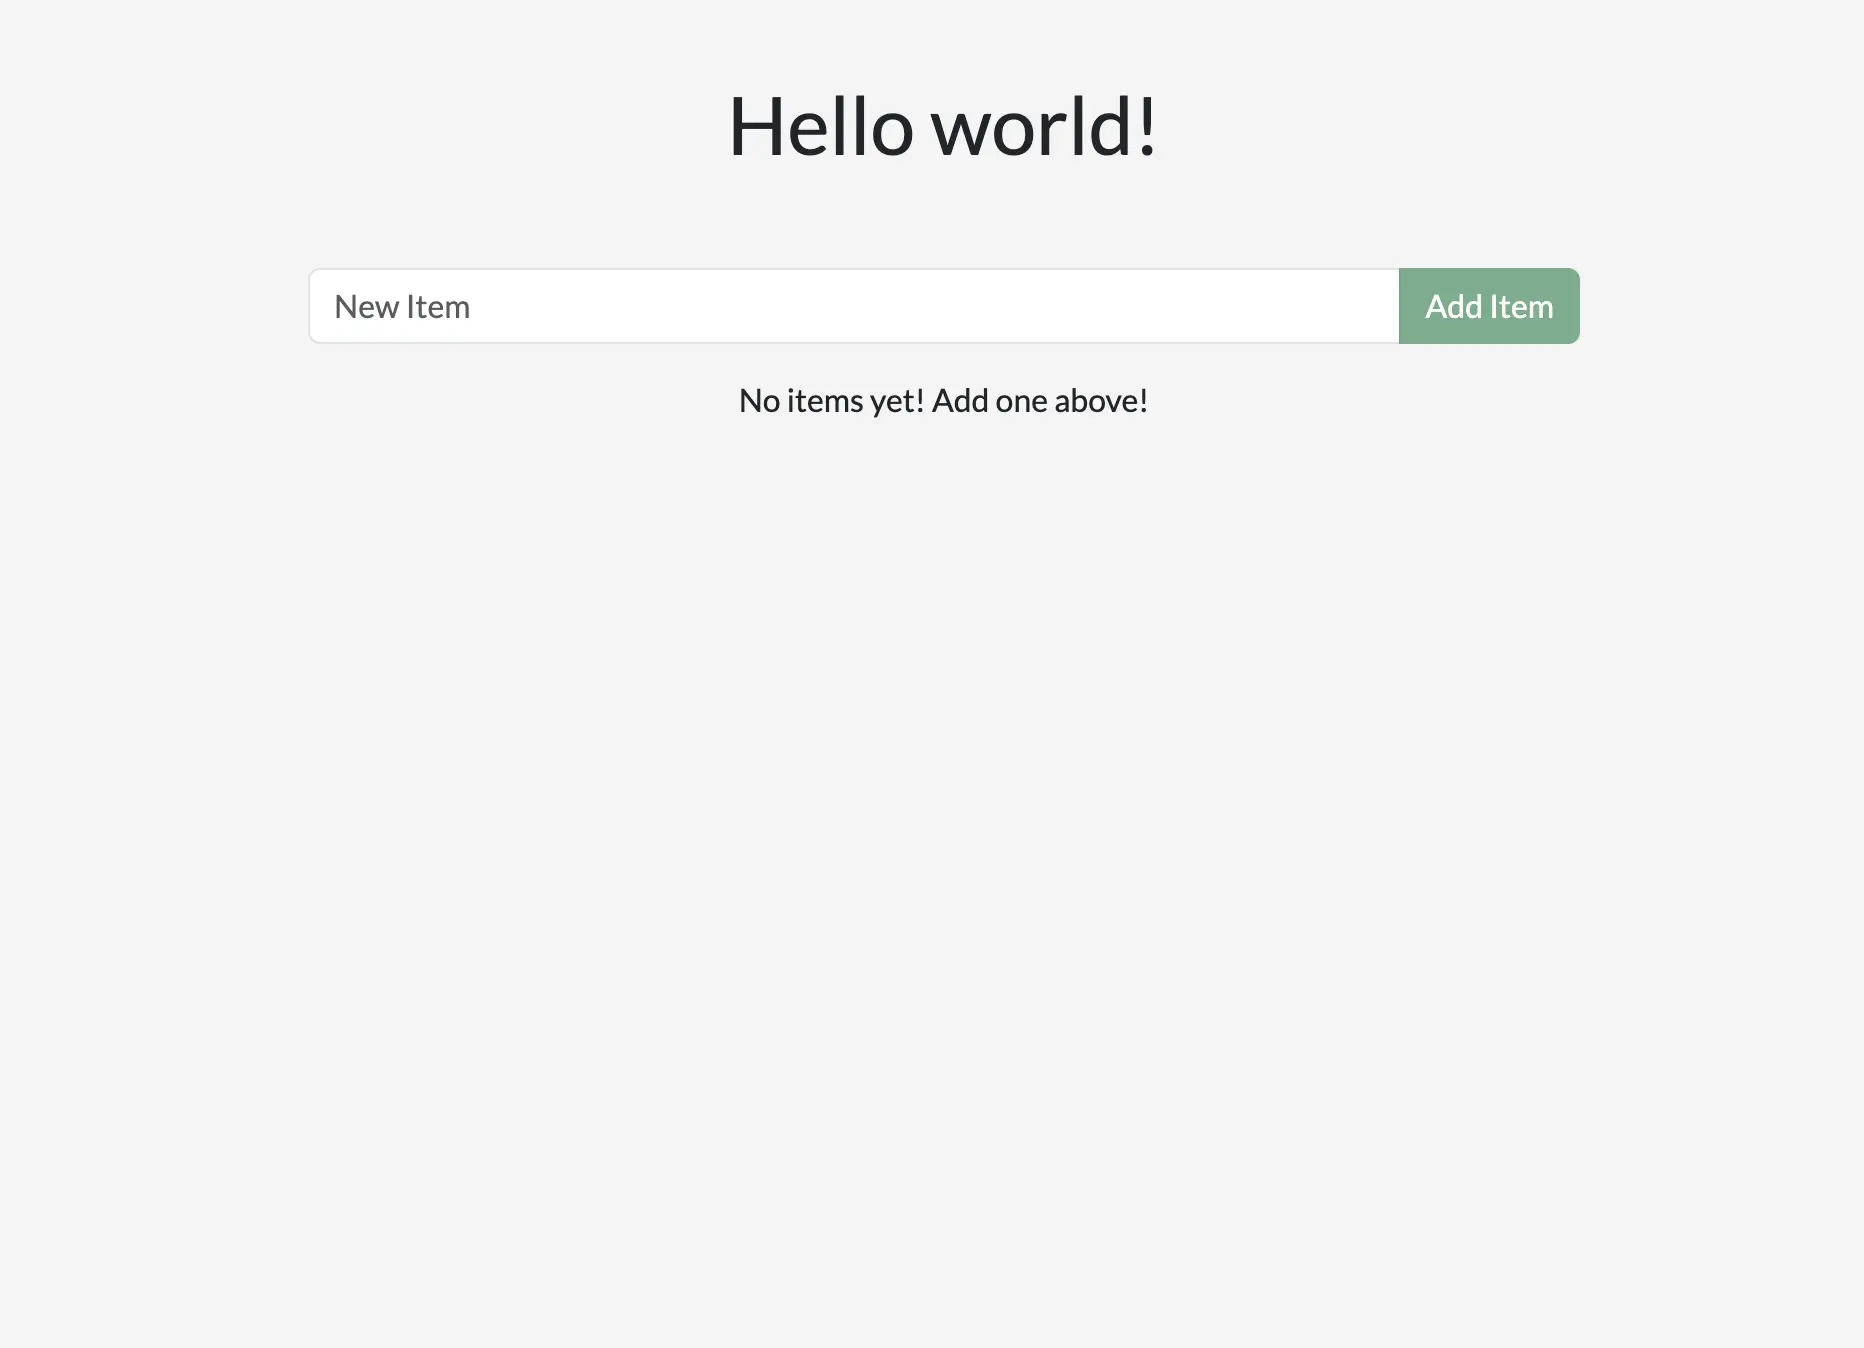
Open your browser to http://localhost to see the application up and running. It may take a few minutes for the app to run. The app is a simple to-do application, so feel free to add an item or two, mark some as done, or even delete an item.ブラウザを開いてhttp://localhostにアクセスし、アプリケーションが稼働しているのを確認してください。アプリが動作するまでに数分かかる場合があります。このアプリはシンプルなTo-Doアプリケーションなので、アイテムを1つか2つ追加したり、いくつかを完了としてマークしたり、アイテムを削除したりしてみてください。
What's in the environment?環境には何がありますか?
Now that the environment is up and running, what's actually in it? At a high-level, there are several containers (or processes) that each serve a specific need for the application:環境が立ち上がり、実際に何が含まれているのでしょうか? 高レベルでは、アプリケーションの特定のニーズに応えるいくつかのコンテナ(またはプロセス)が存在します:
- React frontend - a Node container that's running the React dev server, using Vite.React フロントエンド - Viteを使用して、React 開発サーバーを実行している Node コンテナ。
- Node backend - the backend provides an API that provides the ability to retrieve, create, and delete to-do items.Node バックエンド - バックエンドは、To-Do アイテムを取得、作成、削除するための API を提供します。
- MySQL database - a database to store the list of the items.MySQL データベース - アイテムのリストを保存するためのデータベース。
- phpMyAdmin - a web-based interface to interact with the database that is accessible at http://db.localhost.phpMyAdmin - データベースと対話するためのウェブベースのインターフェースで、http://db.localhostでアクセス可能です。
- Traefik proxy - Traefik is an application proxy that routes requests to the right service. It sends all requests for
localhost/api/*to the backend, requests forlocalhost/*to the frontend, and then requests fordb.localhostto phpMyAdmin. This provides the ability to access all applications using port 80 (instead of different ports for each service).Traefik プロキシ - Traefikは、リクエストを適切なサービスにルーティングするアプリケーションプロキシです。すべてのリクエストをlocalhost/api/*にバックエンドに送信し、localhost/*のリクエストをフロントエンドに、db.localhostのリクエストを phpMyAdmin に送信します。これにより、各サービスの異なるポートではなく、ポート 80 を使用してすべてのアプリケーションにアクセスできるようになります。
With this environment, you as the developer don’t need to install or configure any services, populate a database schema, configure database credentials, or anything. You only need Docker Desktop. The rest just works.この環境では、開発者としてサービスをインストールしたり構成したり、データベーススキーマを作成したり、データベースの資格情報を設定したりする必要はありません。必要なのは Docker Desktop だけです。残りはすべて動作します。
Make changes to the appアプリに変更を加える
With this environment up and running, you’re ready to make a few changes to the application and see how Docker helps provide a fast feedback loop.この環境が立ち上がったので、アプリケーションにいくつかの変更を加え、Docker がどのように迅速なフィードバックループを提供するかを確認する準備が整いました。
Change the greeting挨拶を変更する
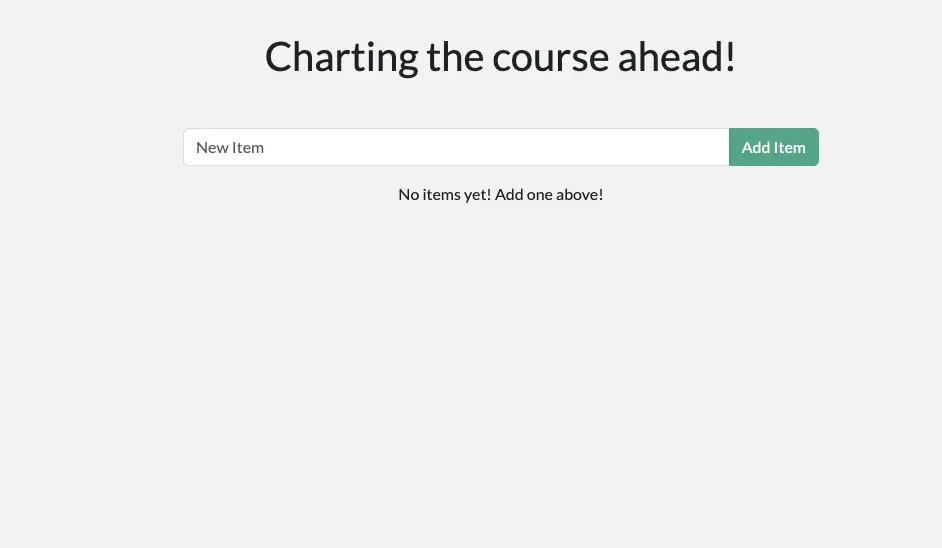
The greeting at the top of the page is populated by an API call at /api/greeting. Currently, it always returns "Hello world!". You’ll now modify it to return one of three randomized messages (that you'll get to choose).ページの上部にある挨拶は、/api/greetingへのAPI呼び出しによって生成されます。現在、常に「Hello world!」を返します。これを、あなたが選ぶ3つのランダムなメッセージのいずれかを返すように修正します。
Open the
backend/src/routes/getGreeting.jsfile in a text editor. This file provides the handler for the API endpoint.テキストエディタでbackend/src/routes/getGreeting.jsファイルを開きます。このファイルはAPIエンドポイントのハンドラーを提供します。Modify the variable at the top to an array of greetings. Feel free to use the following modifications or customize it to your own liking. Also, update the endpoint to send a random greeting from this list.最上部の変数を挨拶の配列に修正します。以下の修正を使用するか、自分の好みにカスタマイズしてください。また、このリストからランダムな挨拶を送信するようにエンドポイントを更新します。
 1
 2
 3
 4
 5
 6
 7
 8
 9
10
11
const GREETINGS = [ "Whalecome!", "All hands on deck!", "Charting the course ahead!", ]; module.exports = async (req, res) => { res.send({ greeting: GREETINGS[ Math.floor( Math.random() * GREETINGS.length )], }); };const GREETINGS = [ "Whalecome!", "All hands on deck!", "Charting the course ahead!", ]; module.exports = async (req, res) => { res.send({ greeting: GREETINGS[ Math.floor( Math.random() * GREETINGS.length )], }); };If you haven't done so yet, save the file. If you refresh your browser, you should see a new greeting. If you keep refreshing, you should see all of the messages appear.まだ行っていない場合は、ファイルを保存してください。ブラウザをリフレッシュすると、新しい挨拶が表示されるはずです。リフレッシュを続けると、すべてのメッセージが表示されるはずです。
Change the placeholder textプレースホルダーテキストを変更する
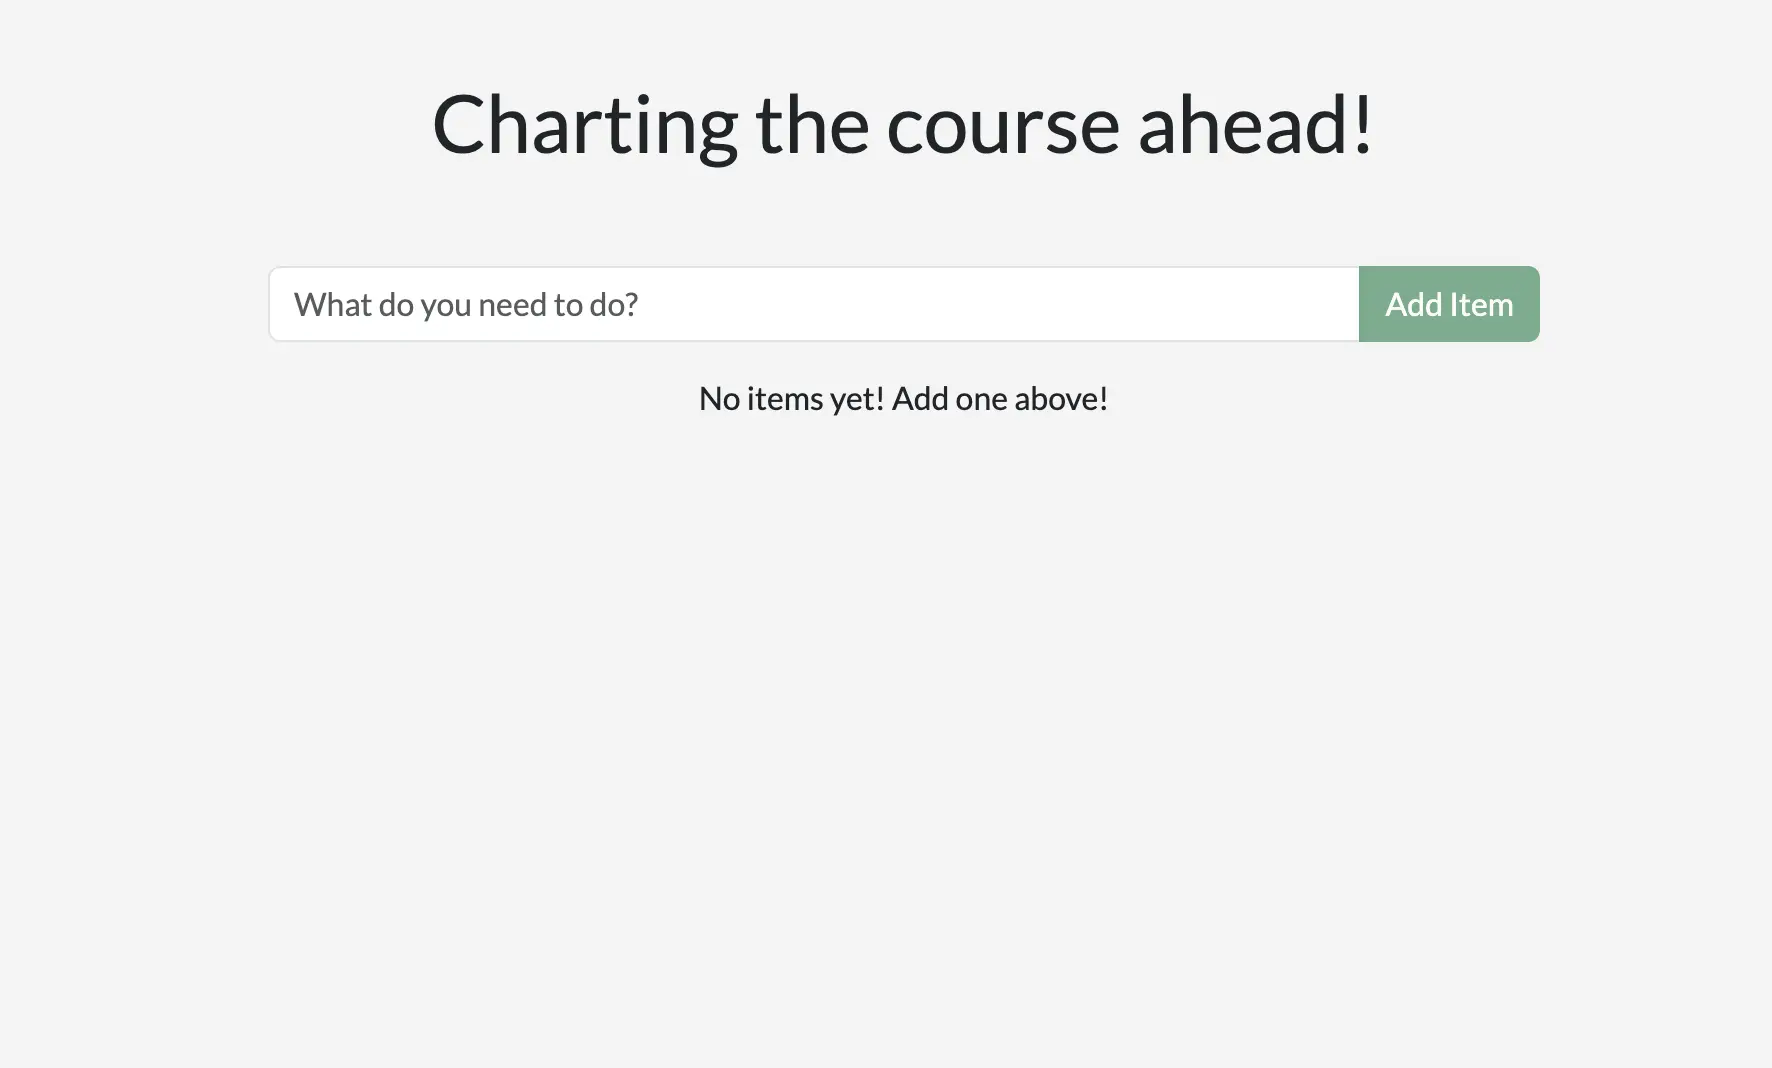
When you look at the app, you'll see the placeholder text is simply "New Item". You’ll now make that a little more descriptive and fun. You’ll also make a few changes to the styling of the app too.アプリを見ると、プレースホルダーテキストは単に「New Item」となっています。これをもう少し説明的で楽しいものにします。また、アプリのスタイリングにもいくつかの変更を加えます。
Open the
client/src/components/AddNewItemForm.jsxfile. This provides the component to add a new item to the to-do list.client/src/components/AddNewItemForm.jsxファイルを開きます。これは、To-Doリストに新しいアイテムを追加するためのコンポーネントを提供します。Modify the
placeholderattribute of theForm.Controlelement to whatever you'd like to display.Form.Control要素のplaceholder属性を、表示したい内容に修正します。33 34 35 36 37 38 39<Form.Control value={newItem} onChange={(e) => setNewItem(e.target.value)} type="text" placeholder="What do you need to do?" aria-label="New item" /><Form.Control value={newItem} onChange={(e) => setNewItem(e.target.value)} type="text" placeholder="What do you need to do?" aria-label="New item" />Save the file and go back to your browser. You should see the change already hot-reloaded into your browser. If you don't like it, feel free to tweak it until it looks just right.ファイルを保存してブラウザに戻ります。変更がすでにブラウザにホットリロードされているはずです。気に入らない場合は、ちょうど良くなるまで調整してください。
Change the background color背景色を変更する
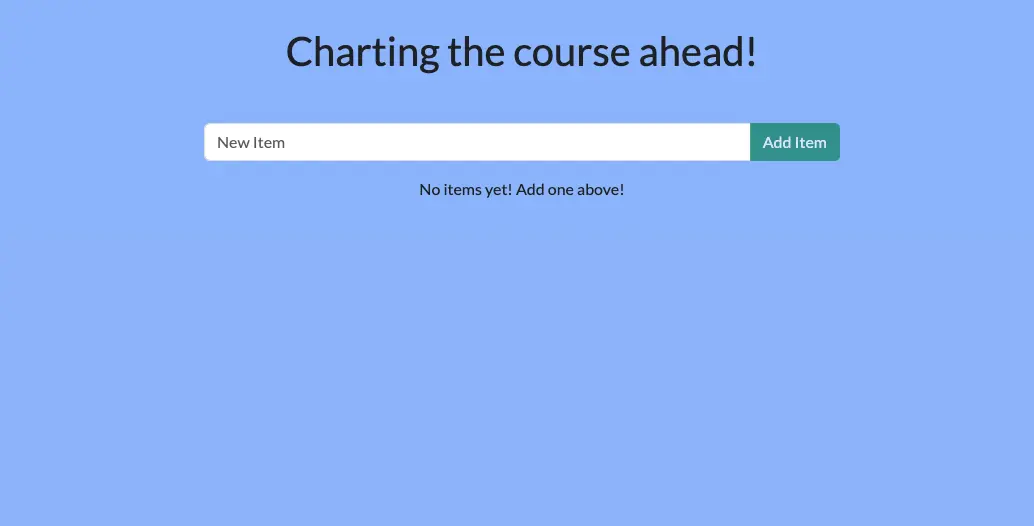
Before you consider the application finalized, you need to make the colors better.アプリケーションを最終化する前に、色をより良くする必要があります。
Open the
client/src/index.scssfile.client/src/index.scssファイルを開きます。Adjust the
background-colorattribute to any color you'd like. The provided snippet is a soft blue to go along with Docker's nautical theme.background-color属性をお好きな色に調整してください。提供されたスニペットは、Dockerの海洋テーマに合わせた柔らかい青です。If you're using an IDE, you can pick a color using the integrated color pickers. Otherwise, feel free to use an online Color Picker.IDEを使用している場合は、統合されたカラーピッカーを使用して色を選択できます。そうでない場合は、オンラインのカラーピッカーを自由に使用してください。
3
4
5
6
7
body { background-color: #99bbff; margin-top: 50px; font-family: 'Lato'; }body { background-color: #99bbff; margin-top: 50px; font-family: 'Lato'; }Each save should let you see the change immediately in the browser. Keep adjusting it until it's the perfect setup for you.各保存で、ブラウザに即座に変更が表示されるはずです。完璧な設定になるまで調整を続けてください。
And with that, you're done. Congrats on updating your website.これで完了です。ウェブサイトの更新おめでとうございます。
Recap振り返り
Before you move on, take a moment and reflect on what happened here. Within a few moments, you were able to:次に進む前に、ここで何が起こったのかを少し考えてみてください。ほんの数瞬で、あなたは以下のことを達成しました:
Start a complete development project with zero installation effort. The containerized environment provided the development environment, ensuring you have everything you need. You didn't have to install Node, MySQL, or any of the other dependencies directly on your machine. All you needed was Docker Desktop and a code editor.インストールの手間をかけずに完全な開発プロジェクトを開始します。コンテナ化された環境が開発環境を提供し、必要なすべてのものが揃っています。Node、MySQL、またはその他の依存関係を直接マシンにインストールする必要はありませんでした。必要だったのはDocker Desktopとコードエディタだけです。
Make changes and see them immediately. This was made possible because 1) the processes running in each container are watching and responding to file changes and 2) the files are shared with the containerized environment.変更を加えてすぐに確認できます。これは、1) 各コンテナ内で実行されているプロセスがファイルの変更を監視し応答していること、2) ファイルがコンテナ化された環境と共有されているために可能になりました。
Docker Desktop enables all of this and so much more. Once you start thinking with containers, you can create almost any environment and easily share it with your team.Docker Desktopはこれらすべてを可能にし、さらに多くのことを実現します。コンテナを使って考え始めると、ほぼどんな環境でも作成でき、チームと簡単に共有できます。
Next steps次のステップ
Now that the application has been updated, you’re ready to learn about packaging it as a container image and pushing it to a registry, specifically Docker Hub.アプリケーションが更新されたので、コンテナイメージとしてパッケージ化し、レジストリ、特にDocker Hubにプッシュする方法を学ぶ準備が整いました。
Build and push your first image